First play with Christmas Barn Bundle

First play with Christmas Barn Bundle
Christmas Barn Card 2

Christmas card featuring Christmas Barn Bundle

I’ve just been dying to dig into this Christmas Barn Bundle that I purchased a few months ago, but hadn’t yet had the opportunity to use. Thankfully, I finally found the time recently! 

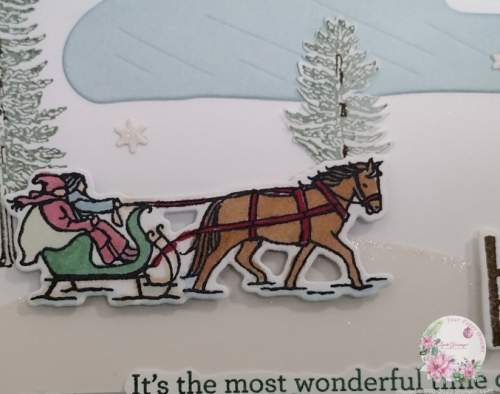
This bundle (stamps + dies) has so many appealing images it took me a bit longer than usual to figure out an arrangement that reflected what I had in my head. I loved the barn, but pretty quickly realized that if I wanted to use the horse & sleigh, the pond, AND several trees… that there just wasn’t going to be room for it all on a standard-sized card. So the barn will have to wait its turn.

This is a standard 5-1/2″ x 4-1/4″ card. Its base features the thick basic white cardstock, which is my standard go-to for most of my card bases. I cut the snow hill at the bottom freehand from a scrap of Shimmery White cardstock, and the snowflakes were then die-cut from the remnants of that same scrap. 

To get the dual-color look for the trees, I began by inking the stamp with Soft Succulent Classic Pad, but then immediately added the brown color to the trunk & branches with my Early Espresso Stampin’ Write marker, applied directly onto the stamp. (Note: this is ok to do with our Stampin’ Write markers because they are water-based and will easily wash off the stamp; but do NOT try this with the Blends, however, as they are alcohol-based and not intended to be used directly on stamps.) Anyway, once the Stampin’ Write marker color was applied to the stamp, I breathed some warm, moist air onto the stamp and immediately stamped it onto the card.


Balmy Blue Classic Pad provided the 2 blue areas on this card: the sky and the pond. I used a Blending Brush to apply ink to each area, varying the intensity of the ink accordingly.

The sleigh & horse were stamped with the black Momento pad, and then colored with several Stampin’ Blends colors before die-cutting. And that image, along with the fence, was then mounted with Stampin’ Dimensionals. 


For final touches, I stamped the sentiment that appears at the bottom onto scrap cardstock, and cut it out freehand. And then added a bit of twinkle to the top edge of the snow hill, as well as to the snowflakes with my Wink of Stella Glitter Brush.


And just like that, my Christmas Barn Bundle has now been broken in!
Christmas Barn Card 1

Want some or all of these supplies for yourself?

Just find the “Add All to Cart” button down below the images. This will add each of these items to your cart at Stampin’ Up!’s online store and then take you directly to the store and show you that list in your shopping cart. Then just go down that list and simply delete the things you *don’t* need, and adjust the quantities you *do* need! Be sure to log into your own account to check out, or save the contents of your cart to purchase later. Easy-peasy!

NOTE: In addition to these items shown, I also used a variety of Stampin’ Write Markers, and Stampin’ Blends to color the finer details.

What’s this Template-Based Online Card Class all about anyway?

What’s this Template-Based Online Card Class all about anyway?
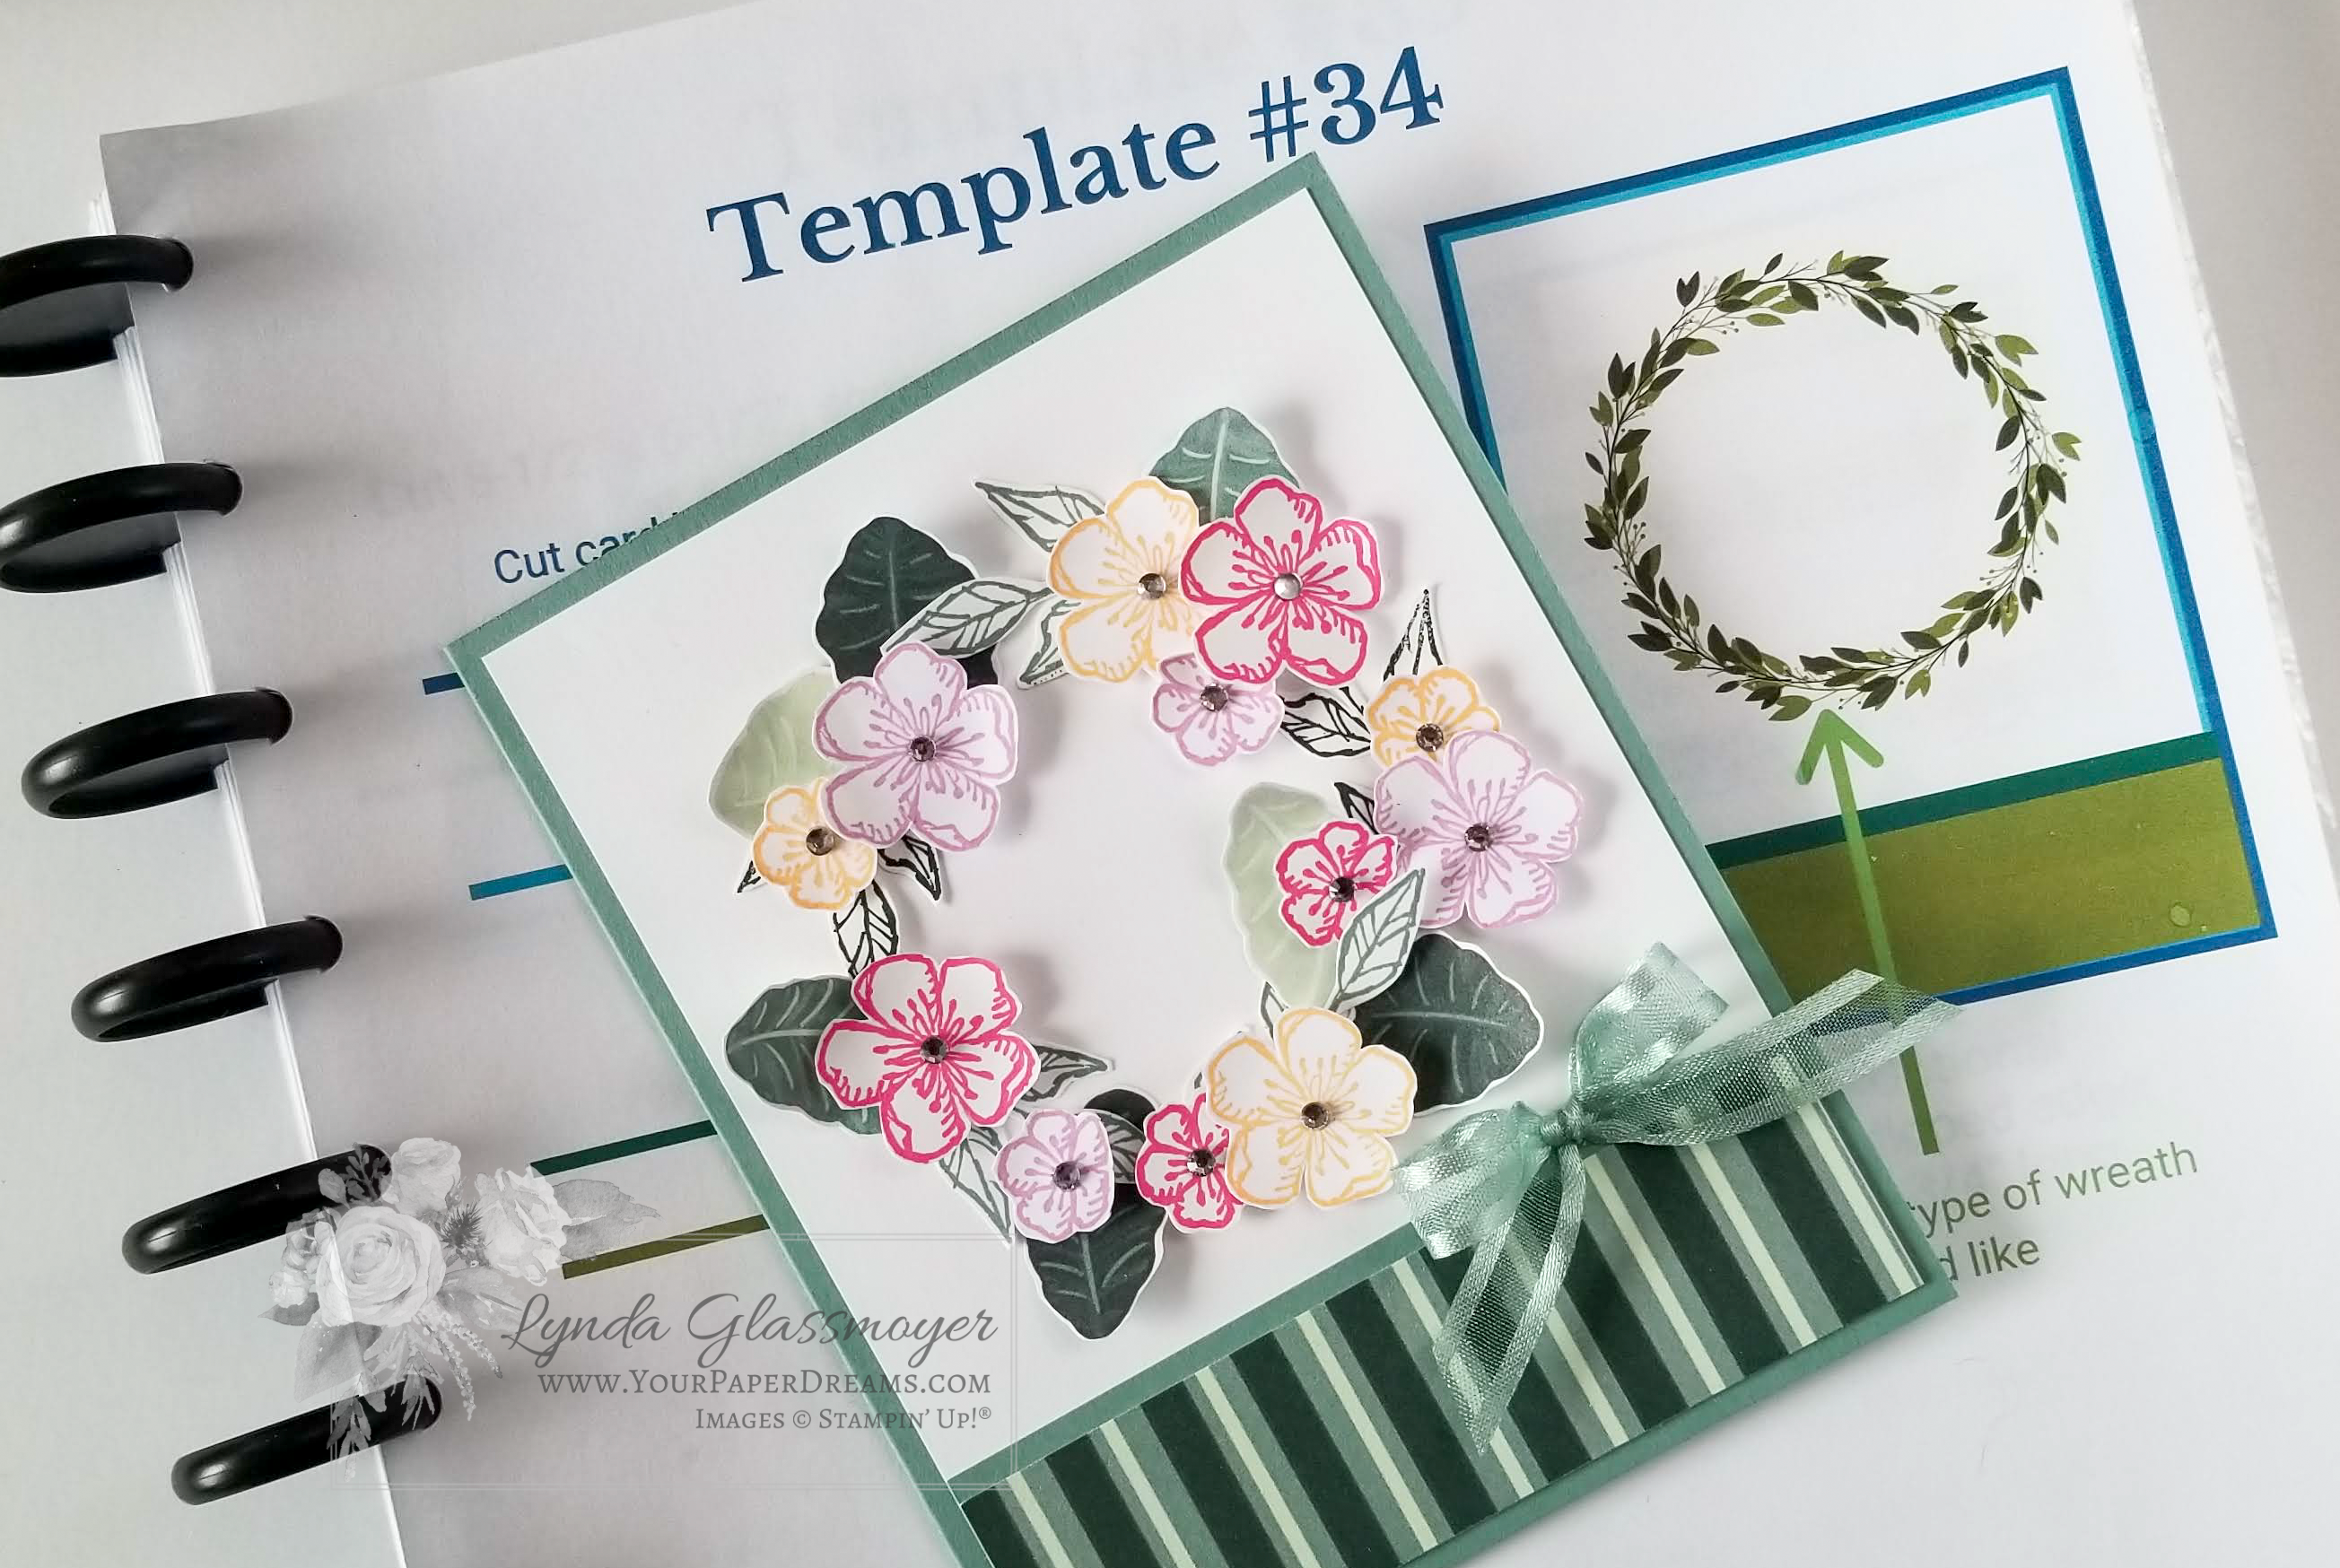
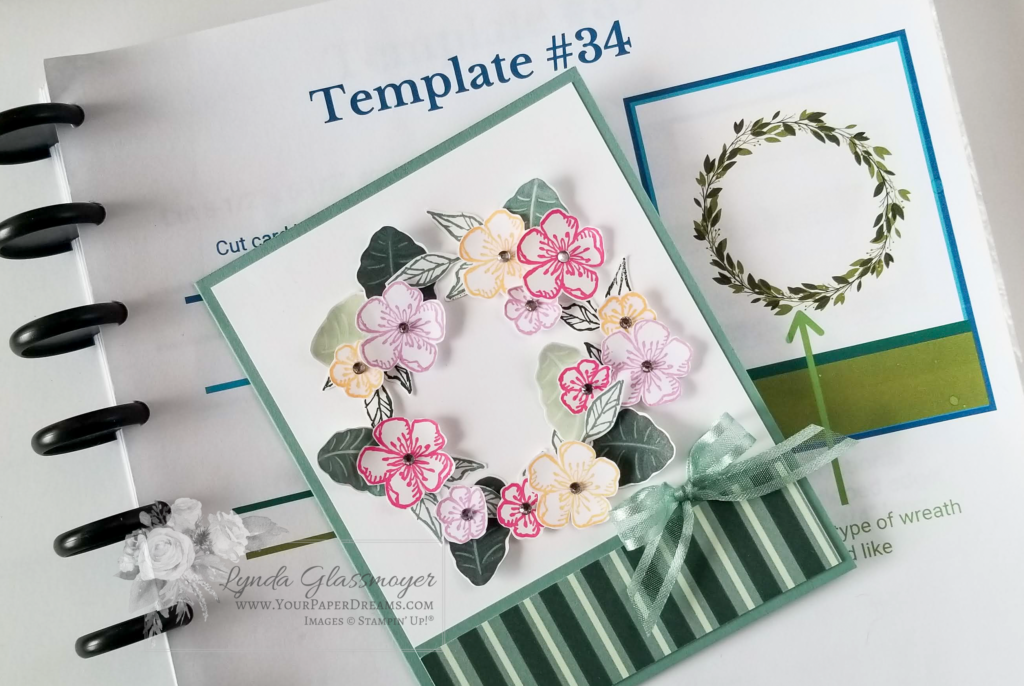
Template 34 of Online Card Class
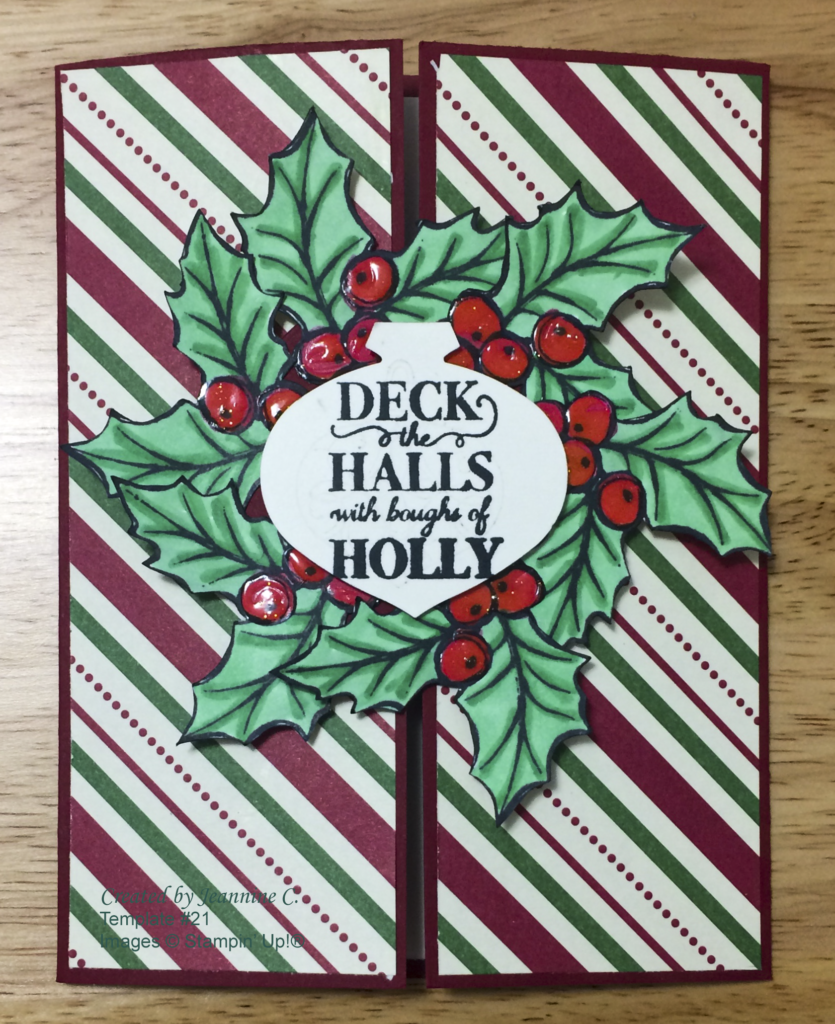
Template 34 of our Template-Based Online Card Class (April 2021)

Introducing our Template-Based Online Card Class

One of the things I’m most proud of during my 25-year journey as a Stampin’ Up! demonstrator is that the events I’ve designed and held over the years have often become the basis for many deep and lasting friendships. Each event attendee arrives expecting to create something pretty with paper, of course. That is to be expected. As a Stampin’ Up! demonstrator, that’s what I do. At least at the surface level, anyway. 

Yet time and again, as people return to the next event, and the next one, and they see the same faces ’round the stampin’ table, many have developed friendships along the way. Lasting friendships. The kind where they get invited to dinner at each others’ houses, or to the weddings of each others’ kids. Or they may even plan family outings or vacations together. Or gather together to form an assembly line to put together wedding invitations. Or memorial booklets.  They’ve shared friendships among themselves, and friendships with me.

As a Stampin’ Up! demonstrator, that’s also part of what I do. And honestly, it’s the most rewarding part. I kinda touched on the friendship angle of my job on the final day of my 25-day-countdown to my recent 25th anniversary with Stampin’ Up! If you are a member of my Paper Dreaming with Lynda Facebook group, you’ve probably already read this.

Today is my 25th anniversary as a Stampin' Up! demonstrator. When I think about all the people in my life now, and all of the people I've met since joining this company in 1996, it occurs to me that almost every one of them has been touched by Stampin' Up! in one way or another. From my family, to customers and team members (of course), to those whom I've met through booth activities and classes, to the UPS man, the folks at businesses I patronize regularly, and the ladies who've cut my hair... I am so grateful for having had this quarter-of-a-century opportunity to connect with people in this way, and to have met so many I would otherwise have never met. Several of those I'm thinking about today are, sadly, no longer with us, while others who've remained good friends have seen loved ones pass, children grow up and marry, and have been blessed with grandchildren and even great-grandchildren. Life cycles and changes, but love & friendship remain. My heart is full. THANK YOU for your part in blessing and enriching my life with your friendship!

(If you’re not already a member of my FB group, but know me or are friends with another group member, please ask to join at Facebook.com/PaperDreamingwithLynda.)

History of these Template-Based Online Card Classes

The concept began back in March 2020, when my routine monthly in-person card classes came to an abrupt and unceremonious halt. Pandemic. It seemed like the world closed down in a matter of hours. From a health standpoint, I knew that closing down my classes was certainly the right thing to do. But it rocked the entire format of my 24-year-old business. And closing my classes would also mean disconnecting from my stamping friends and customer base. Something that would do none of us any good. So, like many of us in similar situations, I pivoted to online. *Zoom*… which, thankfully, I was already familiar with. We would still be able to connect, but still keep our proper “distance” from one another. And our first session was held before the end of that very month. 

But my class format had to be reinvented. Obviously, I could not longer show up with totes full of stamps & supplies, and packs of precut paper with which everyone could copy that session’s card designs. And, I decided that at least for the time being, I was going to run these new classes for no charge. So no one would have to stay away due to lack of funds. And so most anyone would have the ability to join in… regardless of where they resided. I would supply several downloadable (collectible) card layouts (templates) at each class, and the attendees would use their own stamps, ink, and paper to create their own custom card designs.  

 And so we launched. And, except for the predictable technical hiccup from time to time (which must always be expected with online stuff), it worked out fairly well. Except for one thing. The “connection” part was kinda missing. So after a couple of months we added an additional (and optional) “gab” hour… designed to combat the effects of pandemic isolation and keep the friendships intact. 

Tomorrow’s session will mark our 14th such class, and although our participation numbers have not yet reached anywhere near my eventual vision, the class is still fee-free… and still held monthly, usually on the 4th Wednesday at 2:00 pm Pacific. I have now created and presented 35 card-layout templates… enough to actually bind into a book and use for inspiration whenever I sit down to stamp a card. 

If you’d like to take a peek at what one of the templates looks like, you can download Template #34, from April 2021, at this link. It’s in PDF format; just print it either in color or in B&W. 

And if you’d like to join us for tomorrow’s Template-based online card class, there’s still time to register. Just click here before noon (Pacific time) on Wednesday, the 26th, read the info and fill out the quick form. Then watch for a confirmation email from Zoom, and also an additional email from me, directing you to information you can use to prepare for class, and also use as reference during the class. 

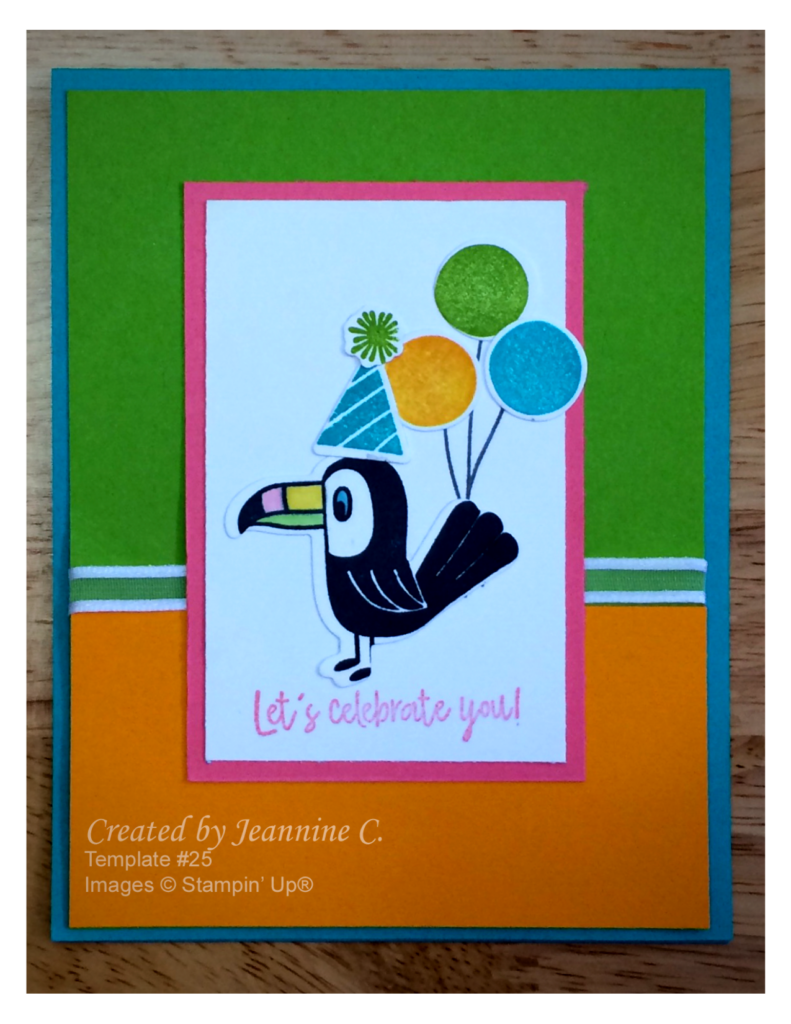
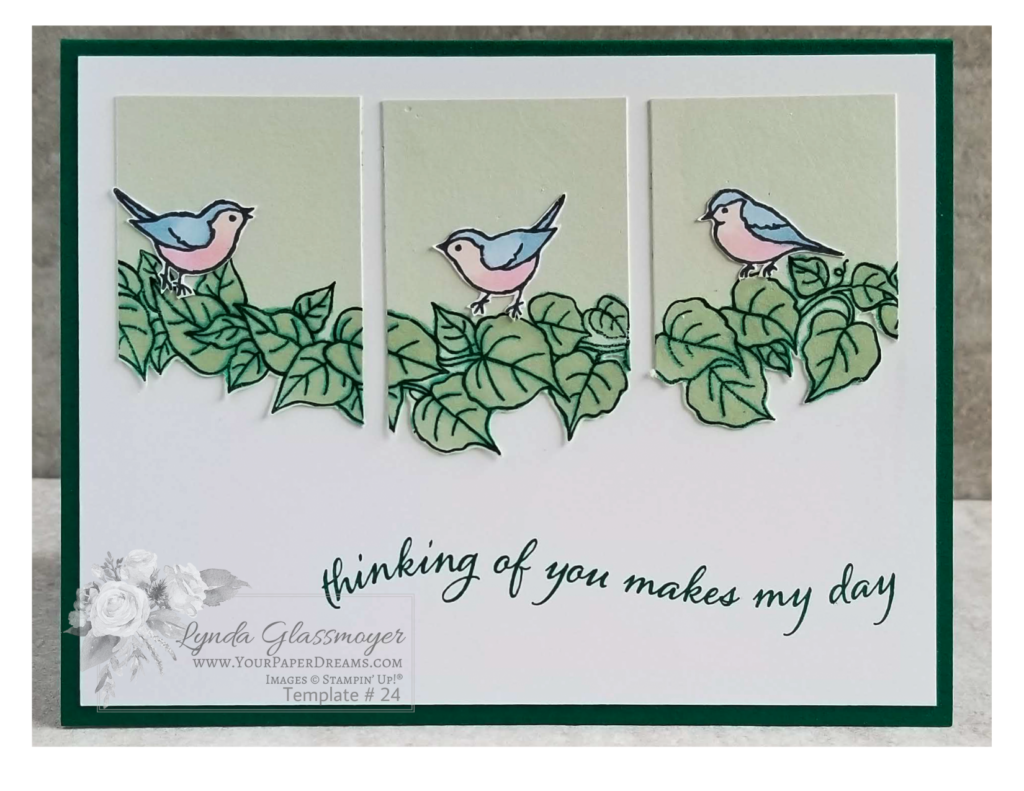
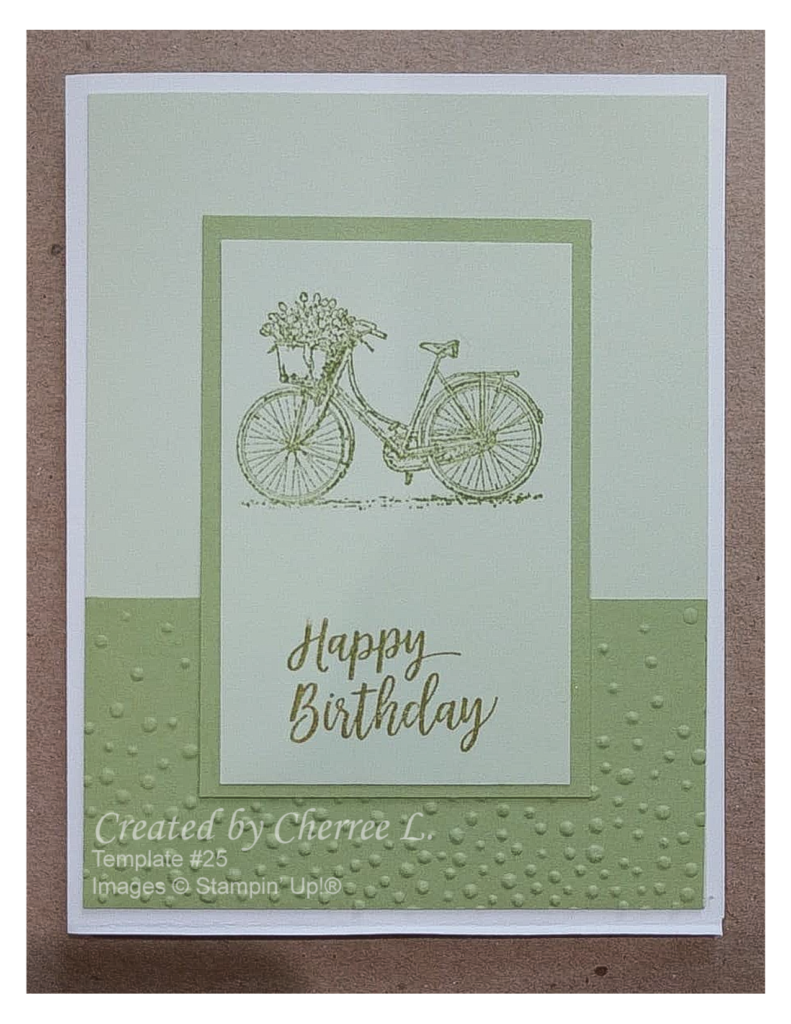
A small sampling of cards made during past classes

Q: On what platform does this class take place?

A: We use Zoom, which can be accessed from almost any device, and doesn’t require a membership or an account for attendees. Since I host the class on my own account, I pay the fee for us to use it.

Q: Is Zoom safe to use? I’ve heard horrible things about it.

A: Yes. I believe it’s as safe as anything else you might do online. There have been many improvements to its security since it first became a staple in life early last year, and most of the “horrible things” were caused by carelessness on the part of users, anyway. 

Q: How do I know what to gather up to use for class? What if I don’t have the proper stamp set(s)?

A: I will send you an email with a link to our online resource page. On that page will be a downloadable guide to gathering your gear. You will use Stampin’ Up! supplies that you already own, whether retired or current. Everyone will use the same layout templates, but different stamps, ink & paper, based on what they already own. 

Q: Why will you only admit people you already know?

A: See the question above… “Is Zoom safe to use?” I am very cautious to ensure we have a safe environment in which to meet. The “horror stories” we used to hear about generally came about by meeting hosts being careless about who was showing up to their events. Even if you and I don’t know each other yet, I am happy to include you when you email me with your background and other things the registration form requests. Basically, I just want to know that you are really *you*. Someone who actually wants to attend this class, and not a planted troll or “bot” of some type, bent on causing trouble.

Q: What if I don’t want to be seen on camera?

A: You can still participate while keeping your camera turned off (which I don’t particularly encourage because it’s awkward for the rest of the attendees, but technically you *can* do that)… OR, you can call in on a phone line and listen that way (although you’ll miss the video presentation part by doing that, of course). 

Q: What if I have another question not addressed here?

A: Email me! 

YOUR favorite moods of the “Painted Poppies” stamp set?

Have you ever thought about the many moods of the “Painted Poppies” stamp set? This delightful set of images, featured on the front cover of Stampin’ Up!®’s 2020 spring catalog, as well as on pages 24- 27, can confidently step up and shine for almost any occasion: birthday, anniversary, thank-you, friendship, invitation, wedding, sympathy, congratulations, and on and on! Dress it up, or leave it simple. Make it shout, or let it whisper. 

The next time you’re ready to create a card, friendship gift, scrapbook page, or even some home decor, there’s a really good chance that Painted Poppies can lend a hand.

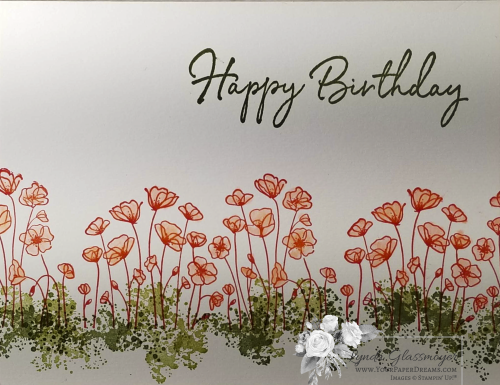
The "understated" mood of "Painted Poppies"

Painted Poppies #simplestamping
Just stamps, ink and paper. #simplestamping
20200114_200104 - w wm
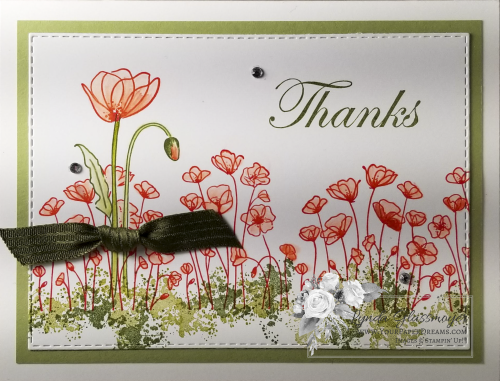
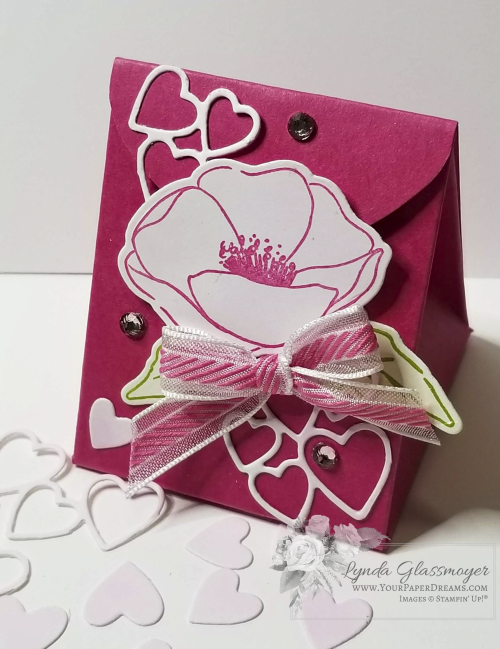
Step it up with a bit of layering, some masking, ribbon & rhinestones.
stepped up Painted Poppies
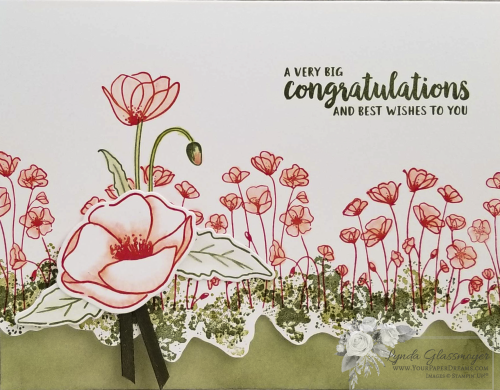
Step it up again. This time I added a die-cut poppy and leaves for interest & dimension, along with a fussy-cut bottom border that offers a glimpse of the sponging inside.

The "feeling pink" mood

20200125_205157 - w wm
A Valentine gift for a special someone
moods of the Painted Poppies stamp set
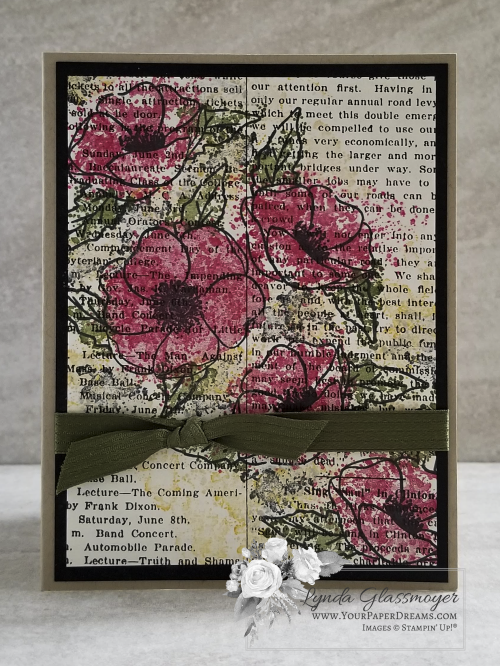
A little vintage look, anyone?
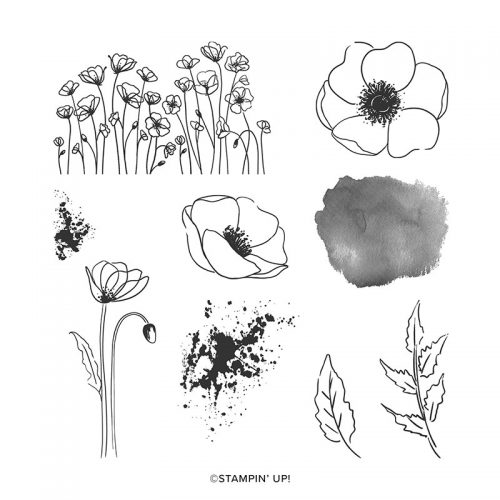
Painted Poppies cling stamp set

Free tutorials with purchase of "Painted Poppies"

Check back in a couple of days for some additional moods of the “Painted Poppies” stamp set. And in the meantime, why not grab your Painted Poppies (or even the Bundle with its coordinating dies) right here, so you’ll have everything when you’re ready to use it. 

I’ll be sending out a set of tutorials featuring some of the samples in this grouping (and the next) to everyone who purchases a Painted Poppies stamp set (or Painted Poppies bundle) through me by February 15th! And yes, if you’ve already purchased yours thru me, that order counts, too. (Tutorials will send AFTER the 15th, tho, because I’ll send them all at once to everyone who qualifies.)

Oh! And don’t forget that the Painted Poppies bundle will also qualify you to select a free item from the Sale-a-Bration brochure, too!

Handmade Valentine Card – then & now

Handmade Valentine Card – then & now

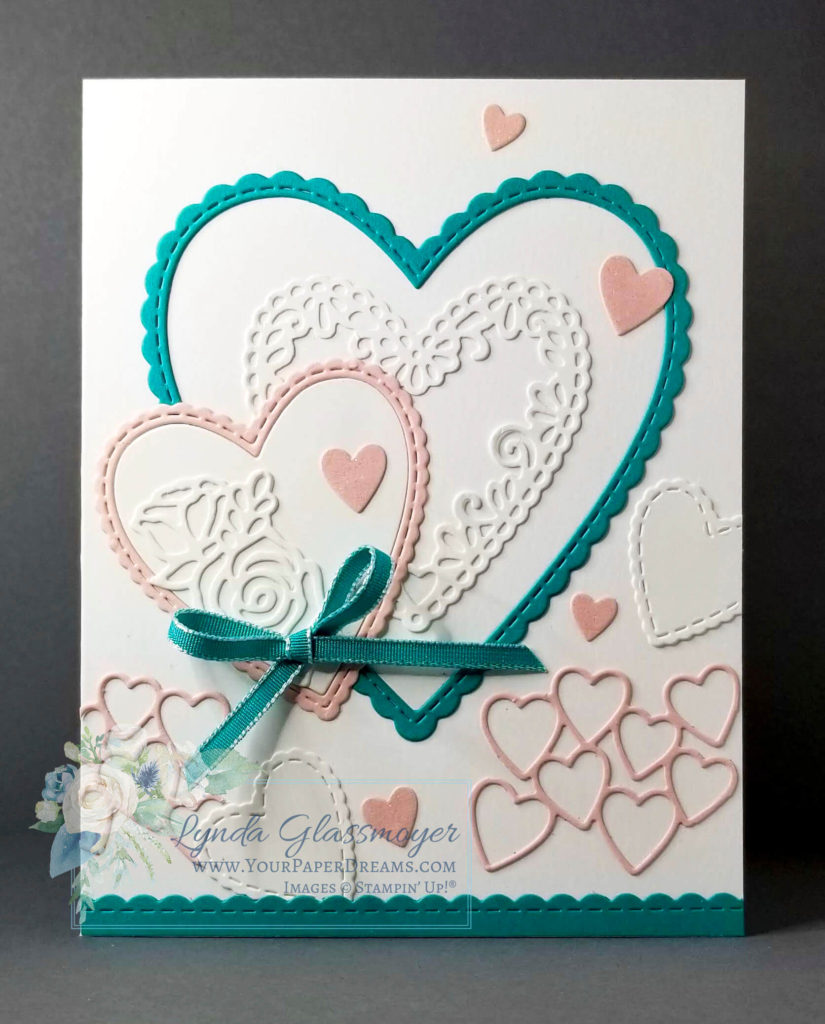
Remember the days of childhood when it was so much fun to make a handmade Valentine card? You’d drag out the construction paper, scissors, and paste, and create something really special straight from your heart, right? Well, that’s exactly what we were recalling as we assembled this card at last month’s card classes!

Handmade Valentine Card – Grown-up Version

For all the color, texture and layers going on with this card, it’s deceptively simple to make… although not necessarily quick to assemble. Actually, it might be the type of card you’d choose to put together while watching TV, so your mind could focus on something other than gluing hearts down in place. Again and again.

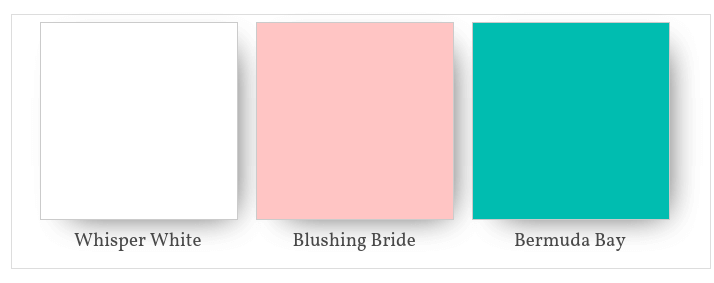
The colors featured on this card are Blushing Bride and Bermuda Bay – which together, make up one of my favorite color combos.

Oh! Wait! Um, let me try that again…

ANY color that coordinates and combines with Bermuda Bay represents “one of my favorite color combos“, lol! But yep, this is indeed one of my regular “go-to” combos.

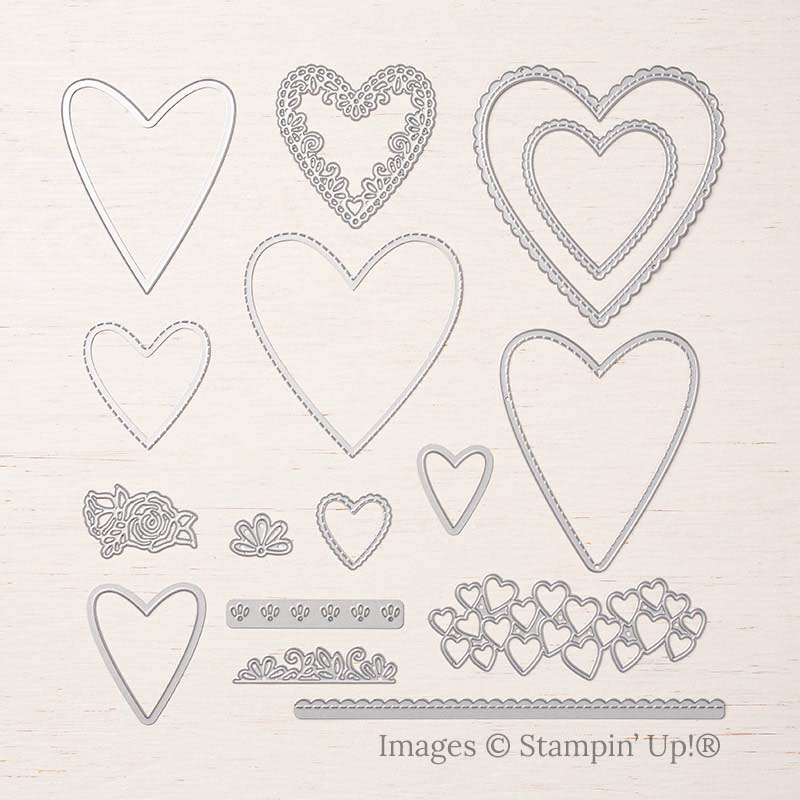
And can you believe that everything, with the exception of the ribbon, was created with just one die set: the “Be Mine Stitched Framelits Dies“?!?

Be Mine Stitched Framelits Dies

So it’s all pretty simple, actually.

It starts with die-cutting all the pieces and then laying them out to dry-fit. (The two Blushing Bride lengths of hearts near the bottom are actually one piece put thru the Big Shot and then carefully trimmed into 2 sections with Paper Snips.) Once you’ve got that done and everything’s laid out to your satisfaction, it’s time to anchor everything down. My adhesive preference for this step is Multi-purpose Liquid Glue, applied in tiny amounts at a time, to the back of each die-cut element using a small piece of scrap-paper as an applicator.

“When it comes to applying glue, less is more.”


Reminder words repeated ad nauseam at most of my card classes.

But basically, that means that less glue not only dries faster, it also leaves fewer smears on your project, fewer sticky fingers, and overall less mess and frustration. And then a happier papercrafter.

Finally, you may want to add some Wink of Stella shimmer to the small solid hearts. It’s my philosophy that you can never have too much shimmer and shine.

Do you have a memory of making Valentine cards as a kid? If so, please share your recollections in the comments.

Color Your Season – Part 5

20180817_151805

Only 3 days left for availability of this exclusive, limited-edition stamp set, dies and watercolor pencils collection, and I've still got 2 samples to show. Yikes! I've had the samples ready for a long time, but have been particularly tied up with personal life stuff this past couple of weeks. But I'd better get on the ball to meet my goal of showing 6 cards while these products are still available, huh?

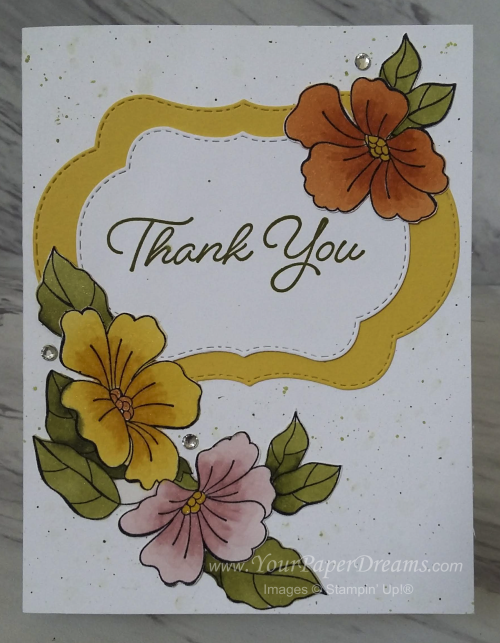
This one features 2 of the 3 dies that have those lovely stitching marks around not only the inner edge of the die (as shown in this example), but they're also on the negative part of the die (so they'd show up along the edge of a window or frame, for instance). Honestly, I think these particular 3 dies are SO versatile and beautiful they're worth the price of the entire die set!

For these flowers, I pulled out my Stampin' Blends and had some fun. Now, I'm admittedly not the most skilled "stampin' blender" around (lots of practice still needed here), but I do enjoy using them. And I particularly love how easily and quickly you can apply color with them. You'll also notice I did a bit of "cut and paste" with the flowers, too. Meaning, I stamped, colored and then "fussy" cut and rearranged flowers and leaves to my liking. I like how splitting the 3 flowers into 2 groupings provides a nice balance to this layout.

To add a touch of additional visual interest I added some splatter to the background of the card base using an aquapainter dipped in ink. (But if you have a really keen eye you'll notice a wayward spatter just above the words. Oops! Apparently, I didn't have those extra pieces set quite far enough away from the splatter action, lol!)

If you don't have this amazing set of stamps, dies and/or watercolor pencils yet, you'll have to hurry, but there are still 2-1/2 days left to grab yours! Jump on over to my online store to check 'em out, and choose 1, 2 or all 3 elements!

"BONUS DAYS" reminder!
 
With every $50 product order you place in August,
you'll get a coupon for $5 off your September order. No limit!
So if your product total is getting close to $50, $100, or $150, etc., then you might want to bump it up.
Also, don't forget that orders of $150 or more (that aren't part of a hosted event) always qualify for Stampin' Rewards, too…
meaning at least $15 in additional free products in your box!


Stamparatus Success Tips

Stamparatus: A *must-have* positioning tool that will change the life of any stamper. Similar to the "other brands", except this one's on steroids!

If you don't already have your Stamparatus, you'll be able to order it beginning this Friday, June 1, at store.YourPaperDreams.com (Product #146276)

Recently I've been working on another one of my "making multiples" projects and have discovered several tips that have helped me fall even deeper in love with this gizmo (didn't know that was even possible!), and I'm sure it will do the same for you, too.

20180529_190453

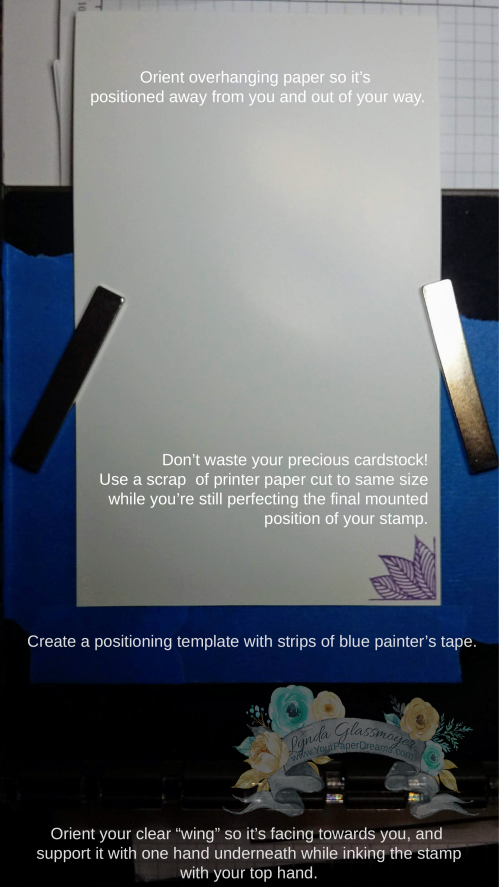
My project uses a long piece of cardstock, and images are ultimately stamped over much of its surface. Because the end has to extend beyond the surface of the platform I was finding that while I was initially using the Stamparatus in my usual orientation (clear "wings" either folding in from top or a side) I was frequently either getting unwelcome creases or ink on the extended end, just from handling the whole set-up. Given that I'm aiming to make somewhere around 100 of these eventually, that was definitely proving awkward.

So I flipped it all around…. extending the excess cardstock up at the top, facing away from me – and positioning my clear "wing" pointing towards me.  And that change alone reduced the amount of stray inky fingerprints and creases I ended up with. I found that I got more ink on the stamp (and less ink on the surrounding clear plate) by placing one hand underneath the "wing" while inking the stamp with my other hand.  And best of all I could actually see what I was doing because it was directly in front of me!

20180530_080847[1]One of the tips I'd already discovered in the past was to match the size of the ink pad to the size of the stamp. (Full-size ink pads for larger stamps and Stampin' Spots for the smaller ones.)  I already have a decent supply of Stampin' Spots from having been a Paper Pumpkin subscriber for so long, but I've also recently been filling in color gaps by making up my own Stampin' Spots in colors I've been missing. (BTW, you can order a set of empty spots here and ink them up with the refill colors of your choice. You DO already have the ink refills that match your ink pads, don't you?!?)

Since I'm doing so many of these I needed a quick and efficient way to get my cardstock lined up each time I needed to work on its other end. And 1" wide blue painter's tape proved the answer to that.  I just plopped a piece of my cut-to-size cardstock down on the platform, temporarily held it in place with magnets, and laid the painter's tape around 3 of its edges. So going forward I could just insert each piece of cardstock right into that template and anchor it with magnets. So far, the tape has held up like a charm, and it doesn't seem to leave any residue either!

And finally, just a reminder to conserve your precious cardstock while you're still designing your layout, and substitute printer paper or something else fairly cheap whenever possible instead. Personally, I use grid paper and/or printer paper for stamping on while I'm developing my layout, and modest-sized scraps of colored cardstock when pulling together colors and layers. I'll only cut a piece of colored CS to actual size once I've got the fussing-around steps mostly behind me and am pretty confident the project seems to be headed in a direction that's gonna work.

So if you don't already have your Stamparatus, mark your calendar for Friday, June 1, jump into my online store, and get one headed your way! 

My first Stampin’ Up! sampler

Spring sampler 2017_1

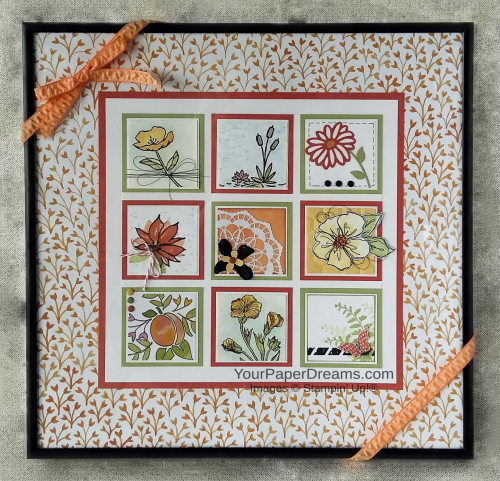
Well it finally happened. My first 12" x 12" framed sampler. 

Not that I haven't adored all the gorgeous themed samples I've seen through the years; I guess I was just a little intimidated. But I finally bit the bullet last week, put together a color palette inspired by Fruit Stand DSP, and dug in. I hit a creativity roadblock after the first 7 squares, so I lost a bit of time 'cuz of that, but at least I got the project finished on the same day I started it.

Ironically, I think the hardest thing about this was getting a half-way decent picture, lol! It's been raining, cloudy and dark around here for days, and since I shoot under natural light…. well, there just hasn't been any. So I ultimately decided to just run with what I had, and maybe someday, should we ever see the sun again, I'll try for a better shot then!

Here's what my thinking went like when planning this:

  • Size - well, I already had the 12 x 12 frame, which I'd purchased a number of months ago. So that was a no-brainer.
  • Color Palette – primarily inspired by the Fruit Stand DSP collection (Tangerine Tango, Peekaboo Peach, Pear Pizzazz, Whisper White), and I substituted So Saffron for Daffodil Delight, then added Soft Sky (for some of the backgrounds) & Basic Black for punch. (Every square has both white and black in it.) I even used 2 pieces of the DSP itself.
  • Theme – flowers & nature
  • Dimension – I knew I wanted "some", but had to keep it modest because this would be displayed behind glass. (You can go all kinds of crazy with dimension if you're using a shadow box, though….. and I'm anxious to do one of those one of these days, too.)
  • Techniques – I also wanted to showcase a variety of techniques, as well, so I was deliberate about doing something different with each square as I developed it.

Each decorated square is 1-7/8" square (Whisper White CS or watercolor paper), which is then mounted on a 2" square of Whisper White, and then mounted on either a Pear Pizzazz or Tangerine Tango 2-1/4" square. I first laid out the pattern for the largest layers, then stamped the 9 decorated squares, mounted each to its white backing, and then spent quite a bit of time experimenting with overall arrangements before anchoring them down to their colored backgrounds.

Can't wait to do my next one!

Designing with Bits and Pieces – Part 3

20160918_110821[1]-wwm

20160918_111918[1]-wwm


This is the last of the Bits & Pieces design session that I'll be sharing from my personal stamp-a-thon last weekend.  

Bits and pieces 3 wo arrows

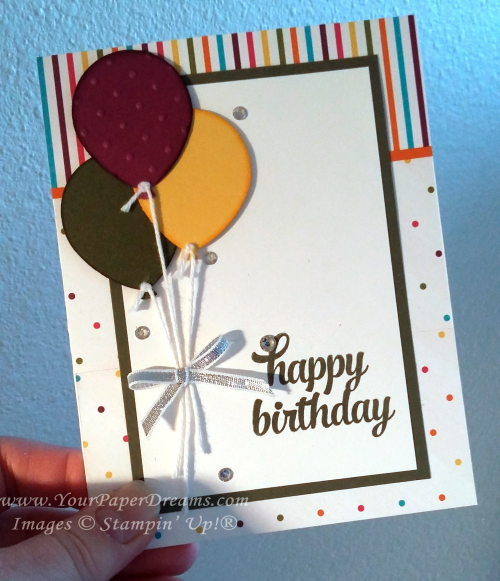
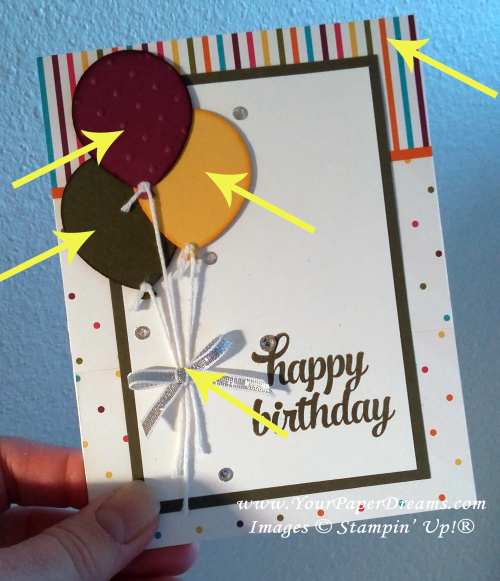
This one began centered around balloons because my scrap bag already held the Rich Razzleberry balloon (already punched and embossed), and it also had scraps of the two other colors of cardstock – each one just about the perfect size for a punched balloon. So the 3 balloons together quickly became my focal point….. but then I had to figure out where to go from there!

Further digging in my scrap bag turned up this scrap of striped Designer Series Paper (of the narrow-ish width you see here), and fortunately I was able to find a complementary piece of DSP (the polka dots) I could trim to go along with it. Placing the balloons directly on top of the printed backgrounds tended to wash them out, so the next 2 layers were born – to provide a simple white surface for the sentiment and focal point.

One more dive into my scrap bag brought me the silver bow, which I set off with a few rhinestones for a little extra bling. 

The arrows below show the 5 elements I was able to rescue from my "left-overs" scrap bag! Yee haw!!

Bits and pieces 3


Designing with Bits & Pieces

20160918_110821[1]-wwm


A little while ago I decided it was time to empty out and do something with some of the little "bits & pieces" I collect. You see, when I clean up my work space (which I seem to do far too rarely, but don't tell anyone, lol), I often find little leftover "bits & pieces" from a kit or Paper Pumpkin project I assembled, or some extra doo-dad from a card class I held, or something from a card design that got started once-upon-a-time and may have taken another direction – or just never got finished at all. So I keep a couple plastic bags on my desk and add those little tidbits to them at clean-up time.

So I decided recently it was time to pare down the contents of those bags a bit and see how I might actually USE some of those collected bits. I started by emptying out the bags and surveying what was there. (This is a partial sampling.)


20160918_111918[1]-wwm

From there, I started moving things around into little groupings of stuff that might go together…. whether by color and/or by theme – and several of those groupings eventually became the seeds for a card design.  I'll be highlighting some of the results in upcoming posts.

Here's the first completed card….. something that's been hanging around ever since last Christmas-stamping season. I've taken it out and looked at it from time to time during this past year, but just kept hitting a creative block. The concept had started out as a "black & gold" card. I remember being really excited about the somewhat different and elegant concept, and I'd made respectable progress on the card nearly a year ago - until I got totally stuck. Could NOT for the life of me figure out where it should go next! While the black & gold seemed pretty enough, it was just – well, boring.  I knew it needed a focal point, and that's the role the wreath was to play, but it still just wouldn't "work". 

So fast-forward nearly a year, and I finally figured out what the problem was. The volumes of each color where too similar….. often a no-no when planning a design. So I decided the answer might be to add a small amount of red for a bit of punch…… and here's what I ended up with.! I'm MUCH happier with it now!


20160925_155800[1]

20160925_155844[1]

Since this card had been "under construction" for the better part of a year, I didn't have to add much to it. As it turned out, I added a circle of Whisper White cardstock behind the wreath so the printed vellum underneath didn't show through…. and then I stamped and embossed the sentiment in red and fussy-cut its custom shape. Then I die-cut the bow from a scrap of red foil paper, and added a single rhinestone for bling. The arrows below show the only elements I actually added to what I'd started a long, long time ago! 

20160925_155722[1]

Stay tuned for more completed projects that have arisen recently out of my "bits and pieces" endeavor!

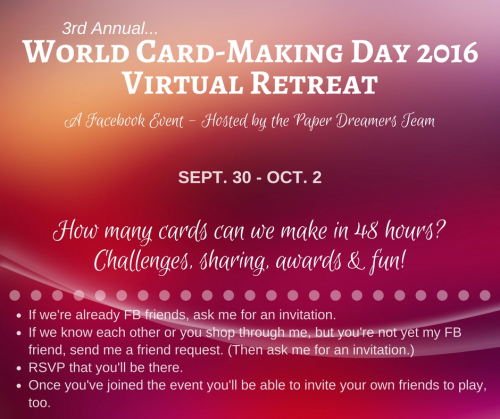
And in the meantime, if you're a FB friend and/or a regular customer of mine, I hope you'll join us for our 3rd annual World Card-Making Day Virtual Retreat! Hosted on Facebook, it'll be 48 hours of creativity and fun – from the comfort of your own home. (Although you DON'T have to be present for the entire time, of course!) So make sure you RSVP that you're attending (details are in the FB Event), and then gather up the goodies you plan to work with! And we'll see you in only a few more days!

World Card-Making Day 2016 - FB promo

Post Falls High School Craft Fair 2015

I had a ton of fun chatting with so many friendly people at the Post Falls High School Craft Fair on Saturday! And was especially impressed to see how many Stampin' Up! demonstrators dropped by! I think by day's end there had been about 7 or 8 demonstrators who'd popped in and introduced themselves; now, if only I was good with faces and names to remember 'em all for *next* time, lol!

And the morning crowd was amazing; I remember looking up at one point and seeing the (quite wide) aisle completely filled with people in both directions. This was obviously not only a craft fair, but the day's social meeting point as well!  🙂

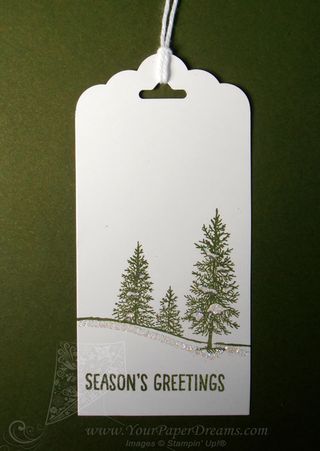
If you've attended one of my booth events over the years you know that I'm not one to just hang and wait for someone to show up. But rather, I generally keep myself busy stamping some kind of little give-away goodies. This year and last I chose gift tags for that item, and this year I particularly wanted something I could crank out quickly and not have to clean stamps along the way. So what's my favorite "quick stamp" technique?  Something monochromatic! Not only can a single color of ink be a real wow, but it holds down supply costs and there's zero chance of sticking the stamp into the wrong ink pad! (Something that's always embarrassing to do in front of an audience.) I knew my working space would be limited, so the simpler, the better, I figured.

So here's the simple, monochromatic design I made and gave away 60-some Tag_Mossy_Meadow
of in 6 hours.  (Actually, more like 4-1/2 hours, because the last hour and a half of the 6-hour show was basically dead.)

This tag began as a 2" x 4" piece of Whisper White cardstock. I chose Mossy Meadow for the ink color, and then there were just a few simple steps…..

  1. I chomped off one end with the Scalloped Tag Topper punch.
  2. The snowy trees image (from "Happy Scenes" stamp set) was placed about 1/3 of the way up from the bottom. (Remember that when using photopolymer stamps, I always recommend placing a piercing mat underneath to compensate for the lack of foam layer on the stamp itself.)
  3. "Season's Greetings" image (from the same set) was placed in the lower area, closer to the left edge for weight balance.
  4. I applied 2-way glue pen in the areas to be glittered….
  5. Then dunked into Dazzling Diamonds glitter and shook off excess.
  6. Finally, I folded a 12" length of Whisper White Bakers Twine in half, brought the two ends together through the tag hole from back to front and looped through the fold for the tag ties.

IF I'd been able to find a "To / From" stamp I'd have either positioned that in the upper left-hand corner or on the back, but after searching in vain through my entire collection of current stamps I sadly concluded I must have sold or retired any such stamps that I once owned. Shoot. There are 3 such pairs of stamps in the current Holiday Catalog, and at least that many in the Annual Catalog, but doggone if I could find 'em when I was tearing through my stuff searching for 'em, lol! Oh well, we'll just call that "white space" – an important element of design, too.

Product List

AND DON'T MISS THIS WEEK'S "WEEKLY DEALS" – available until discounted supplies are exhausted, or thru Monday, Nov. 16, whichever occurs first: