November 2016 Desktop Calendar is ready

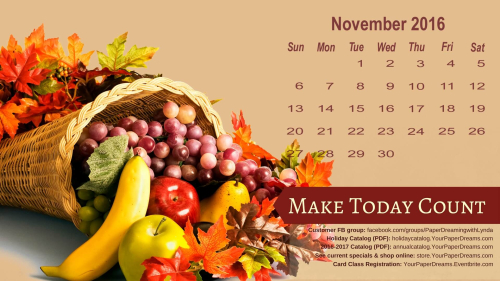
November 2016 desktop calendar

My monthly desktop wallpapers/backgrounds not only offer you a pretty seasonal picture for your computer monitor, but they also include a handy monthly calendar AND serve as a cheat sheet to websites you'll frequently want to know about and visit. 

Download your FREE desktop background image here.

You'll probably want to consult your own computer operating system's instructions for installation, but here's how I install my background image on my Windows 10 system. It's super quick and super easy!

  1. Open, download and save the image to my computer – from the link above.
  2. Open the image on my computer.
  3. Right click and select "Set as", then "Set as Background".

Done!

Important:  Please do NOT attempt to install the image shown above because it's a low resolution photo and will probably not yield attractive results for your desktop background. Rather, be sure to grab the full-resolution image at the download link above. 

Happy November!


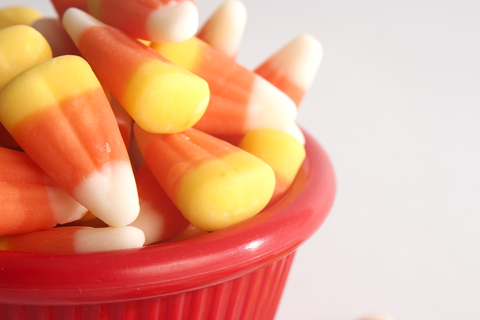
National Candy Corn Day

Dreamstime_xs_34283729
Did you know that Oct. 30th is National Candy Corn Day? No? Well sadly, neither do most people, I've discovered. Somehow it gets all mixed up with Halloween (which is the following day), and never seems to get the tribute it deserves!

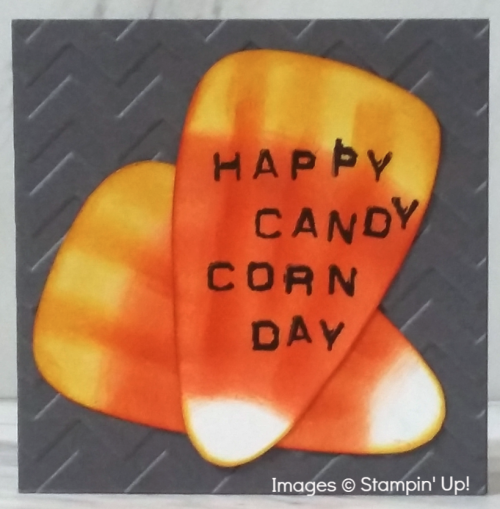
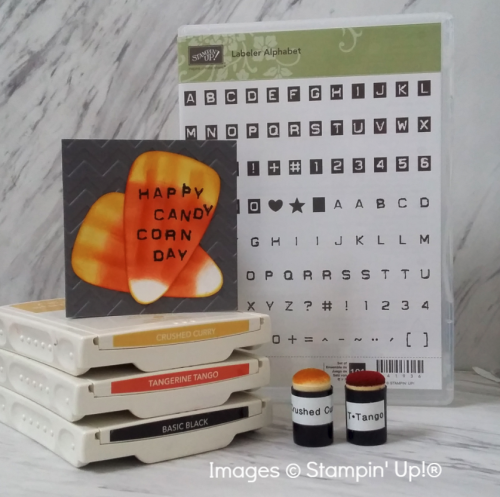
But being a candy corn aficionado myself, I think it deserves a little recognition today. So I made a card in its honor.

happy candy corn day


I just drew a candy corn pattern by hand; figured I really couldn't go TOO far wrong. And then applied the color (and shading) with daubers. Stamped the text with the very fun "Labeler Alphabet", and mounted the candy onto a Basic Gray 3" x 3" card. 

HappyCandyCornDay


Feeling the need to brush up on your candy corn trivia? Check it out here.

And I wish you a very happy NATIONAL CANDY CORN DAY!

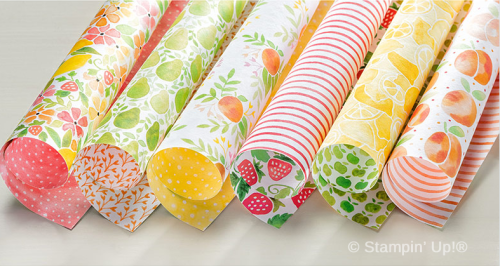
Fruit Stand Designer Series Paper

DSP Fruit Stand 1 wwm

DSP Fruitstand single wwm

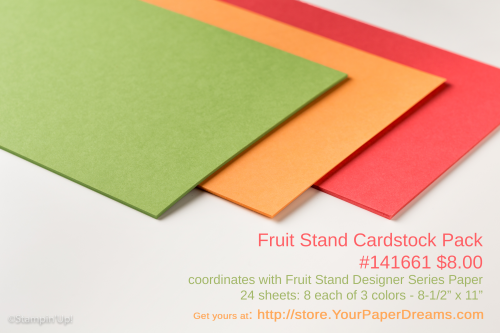
One of my favorite Designer Series papers in the Annual Catalog this year is the Fruit Stand DSP.  And even though we're heading into the season of more subdued colors, I still find myself being pulled back towards the fresh and happy colors of this delicious sherbet-inspired palette!  


141660G

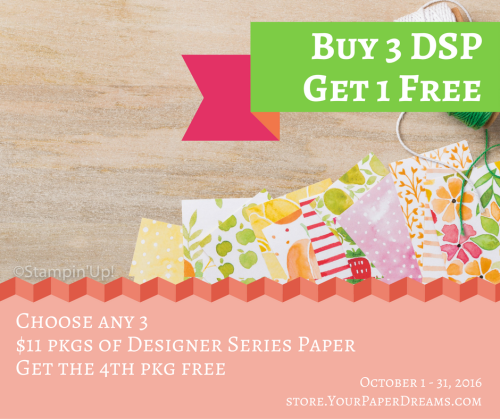
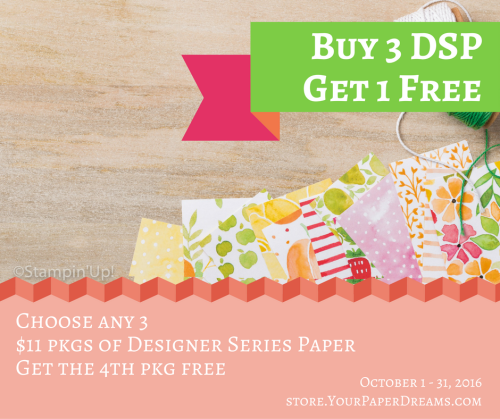
So lucky thing, isn't it, that during the month of October, for every 3 ($11 US) packages of Designer Series Paper you choose, you can get the 4th one FREE!?!


Buy 3, Get 1 free


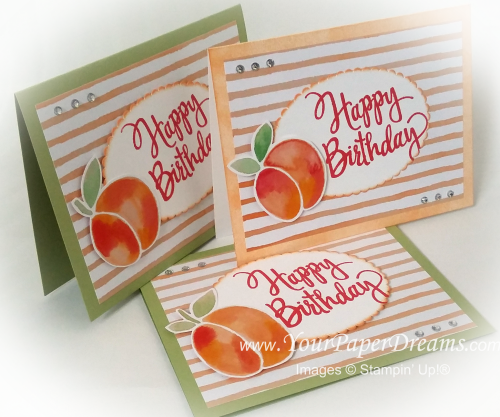
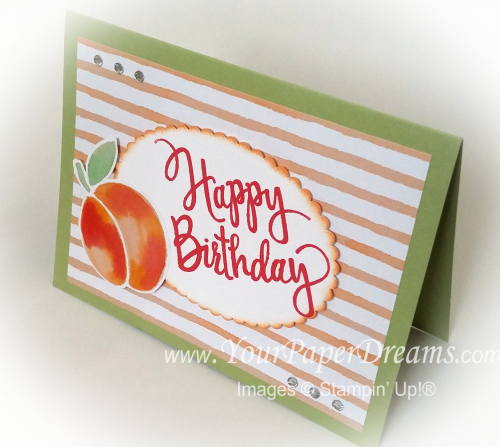
These cards were pretty darn simple to make. Two of the samples feature Pear Pizzaz cardstock for the base, and I used a sponge brayer to apply Peekaboo Peach ink onto thick Whisper White cardstock for the other one. I stamped "Happy Birthday" with Watermelon Wonder onto a piece of Whisper White, and then cut it out with one of the new "Layering Ovals Framelits". A little more Peekaboo Peach ink highlighted the edge.

Fruit stand cardstock 2

The peach itself is just fussy-cut right from the DSP, and then both the oval and the peach are lifted up on Stampin' Dimensionals…. placed onto a piece of the very same Designer Series Paper (actually, the reverse side of the peaches). 

And then a bit of rhinestone bling, and it's done! Just THINK of how many fruit-filled birthday wishes you could make & send with just these very same products!

 Product List 

Sunday Smorgasbord

Well! What a whirlwind this weekend has become! So many things going on in the Stampin' Up! world that I'm really glad I was already focused in that direction and had prepped the family I'd be pretty well tied up for a couple of days. Here's a sampling of some of what's spinning in my life these days…

World Card-Making Day 2016 - FB promo

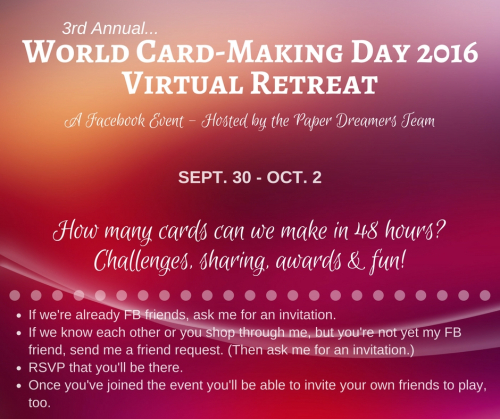
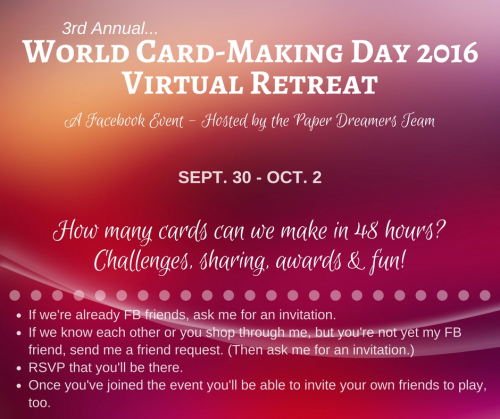
So technically, yesterday was World Card-Making Day. But this is my 3rd year hosting an online retreat in celebration of the occasion, and last year we expanded the opportunity to my entire team and their customers & friends, too.  So that runs from Friday afternoon through Sunday afternoon (the first weekend of October) – as a 48 hour long Facebook event - with the focus of everyone creating cards (between our periodic card challenges, chatter & prize patrols)….. and then we see how many cards we can make as a group during those 48 hours! I never personally get very many cards done at this event because most of my time is spent behind the curtain (that is, on the computer coordinating the technical end of it), but things are a bit quiet right now, so I'm stealing away for a few minutes to write THIS, lol.  

Actually, knowing that I wouldn't get much stamping done this particular weekend (so far I've completed a whopping 4 cards, lol) , I held my own personal card-making marathon LAST weekend instead. So although I can't count those in our weekend total, at least I can "feel" like I participated in the push. If you'd like to follow along with parts of our event, check out the Facebook hashtag #YPD-WCMD2016 , and if you attend my classes, purchase through me, or are a FB friend, there's still time to get in on the final few hours of the afternoon (Oct. 2nd)!

And to add further to the plate-juggling of this weekend, our opening day was on the final day of the Stampin' Up! year, and yesterday was the first day of the NEW Stampin' Up! year. And there's a special project some of us demonstrators are working on for tomorrow (Monday), too….. so stay tuned for that. 

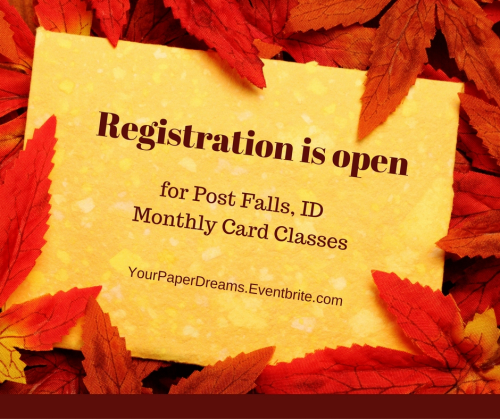
But I DID get this "first of the month" task done:

Registration is open - fall


And Stampin' Up! is running a couple of specials I urge you to check out.

(The first one is only available for a few short days, so be quick!)

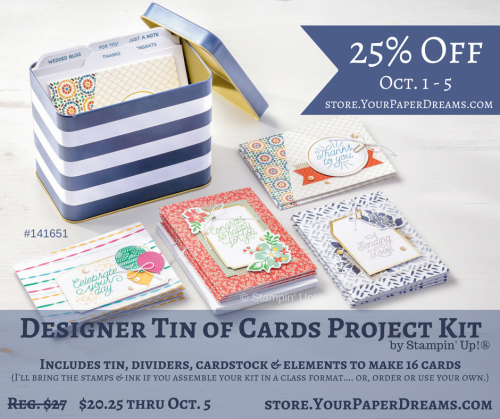
Designer Tin of Cards Sale

Click here to view at my online store.


Buy 3, Get 1 free

Click here to see the specific paper sets included in this offer.


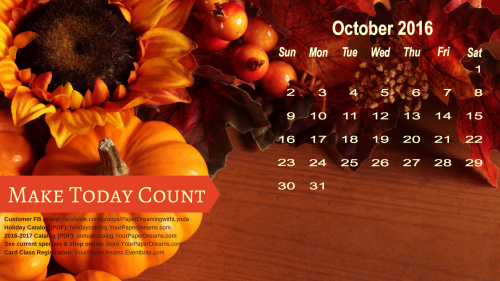
And if you use my desktop wallpaper calendars on your computer, here's the October one:


image from stamptherock.typepad.com
Here are general instructions for setting this up as your desktop wallpaper – on a Windows 10 computer. (You can probably use it on an older or different system, too, but you'll have to figure that one out yourself. Or ask a kid to help, lol.)  

INSTALLATION

This quick and simple installation process works for *my* computer and dual-monitor set-up (Windows 10), but it may or may not work for yours:

  1. Click here (or click the image) to access the high-resolution image. (Please do NOT attempt to install the low-resolution image shown above.)
  2. Download/Save the image to your computer.
  3. Follow your usual process for selecting & setting up an image for your desktop background/wallpaper. (On my computer I only have to right-click the saved image and select "Set as desktop background".)

And now I'm headed back to our #YPD-WCMD2016 Virtual Retreat for the final hours of fun! Make today a great one!


Designing with Bits and Pieces – Part 3

20160918_110821[1]-wwm

20160918_111918[1]-wwm


This is the last of the Bits & Pieces design session that I'll be sharing from my personal stamp-a-thon last weekend.  

Bits and pieces 3 wo arrows

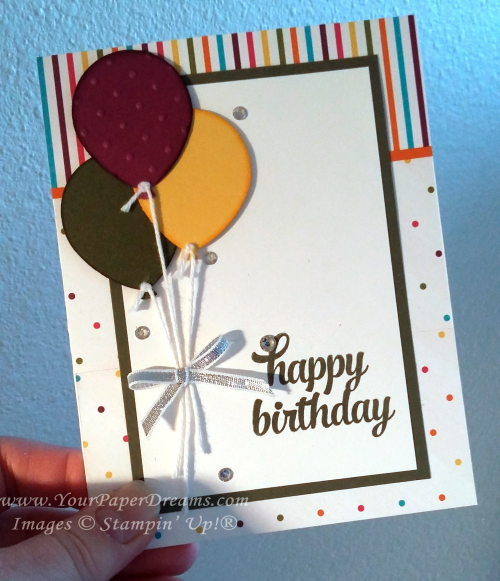
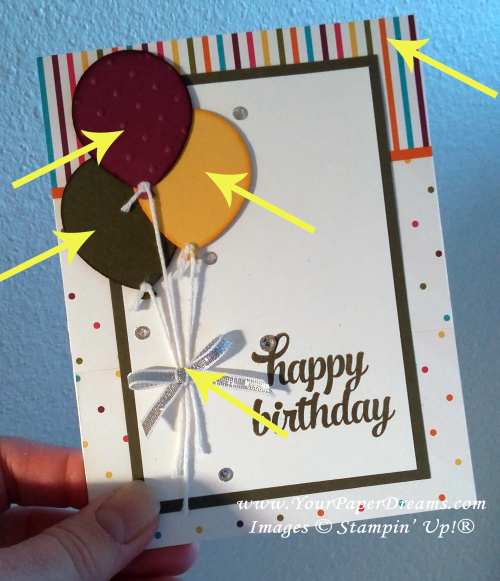
This one began centered around balloons because my scrap bag already held the Rich Razzleberry balloon (already punched and embossed), and it also had scraps of the two other colors of cardstock – each one just about the perfect size for a punched balloon. So the 3 balloons together quickly became my focal point….. but then I had to figure out where to go from there!

Further digging in my scrap bag turned up this scrap of striped Designer Series Paper (of the narrow-ish width you see here), and fortunately I was able to find a complementary piece of DSP (the polka dots) I could trim to go along with it. Placing the balloons directly on top of the printed backgrounds tended to wash them out, so the next 2 layers were born – to provide a simple white surface for the sentiment and focal point.

One more dive into my scrap bag brought me the silver bow, which I set off with a few rhinestones for a little extra bling. 

The arrows below show the 5 elements I was able to rescue from my "left-overs" scrap bag! Yee haw!!

Bits and pieces 3


Designing with Bits & Pieces – Part 2

20160918_110821[1]-wwm 20160918_111918[1]-wwm

Today I have another card design – that was a result of my recent session of designing with leftover bits & pieces of stuff.

20160925_180229[2]
The two yellow arrows show the "bits & pieces" I started out with: the cake pedestal, and the first layer of cake (upon which the "birthday wishes" sentiment had already been stamped).

Both of these pieces had already been stamped and fussy-cut, so I started by slapping 'em onto a folded card base of thick Whisper White cardstock. Thankfully, the "Build a Birthday" stamp set is still current, and therefore still in my collection, so grabbing that was an easy decision….. and then I headed to my ink pads to decide on other colors that would coordinate.

Both cake layers #2 and #3 were stamped onto Whisper White and then cut out with scissors, and then the top layer was trimmed from a scrap of Designer Series Paper I had located elsewhere. All were ultimately adhered to the card base, but before I laid down the top cake layer I stamped the flags directly onto the card base.

20160918_105814[1]

So was it "finished"?  Well, at first I thought so….. but on second thought, maybe not.

It just wasn't "speaking" to me.

So I added 3 rhinestones, and that touch of bling did help a *little* bit. But it still called out for more; it seemed to me like the cake was just hanging around - for no particular reason.  And looked almost as if it might fall right off the page. So I finally decided it needed a frame, and after cutting a simple mask and sponging around its edges, I set my tools down.

There!

NOW it was done!

20160925_180229[1]


Designing with Bits & Pieces

20160918_110821[1]-wwm


A little while ago I decided it was time to empty out and do something with some of the little "bits & pieces" I collect. You see, when I clean up my work space (which I seem to do far too rarely, but don't tell anyone, lol), I often find little leftover "bits & pieces" from a kit or Paper Pumpkin project I assembled, or some extra doo-dad from a card class I held, or something from a card design that got started once-upon-a-time and may have taken another direction – or just never got finished at all. So I keep a couple plastic bags on my desk and add those little tidbits to them at clean-up time.

So I decided recently it was time to pare down the contents of those bags a bit and see how I might actually USE some of those collected bits. I started by emptying out the bags and surveying what was there. (This is a partial sampling.)


20160918_111918[1]-wwm

From there, I started moving things around into little groupings of stuff that might go together…. whether by color and/or by theme – and several of those groupings eventually became the seeds for a card design.  I'll be highlighting some of the results in upcoming posts.

Here's the first completed card….. something that's been hanging around ever since last Christmas-stamping season. I've taken it out and looked at it from time to time during this past year, but just kept hitting a creative block. The concept had started out as a "black & gold" card. I remember being really excited about the somewhat different and elegant concept, and I'd made respectable progress on the card nearly a year ago - until I got totally stuck. Could NOT for the life of me figure out where it should go next! While the black & gold seemed pretty enough, it was just – well, boring.  I knew it needed a focal point, and that's the role the wreath was to play, but it still just wouldn't "work". 

So fast-forward nearly a year, and I finally figured out what the problem was. The volumes of each color where too similar….. often a no-no when planning a design. So I decided the answer might be to add a small amount of red for a bit of punch…… and here's what I ended up with.! I'm MUCH happier with it now!


20160925_155800[1]

20160925_155844[1]

Since this card had been "under construction" for the better part of a year, I didn't have to add much to it. As it turned out, I added a circle of Whisper White cardstock behind the wreath so the printed vellum underneath didn't show through…. and then I stamped and embossed the sentiment in red and fussy-cut its custom shape. Then I die-cut the bow from a scrap of red foil paper, and added a single rhinestone for bling. The arrows below show the only elements I actually added to what I'd started a long, long time ago! 

20160925_155722[1]

Stay tuned for more completed projects that have arisen recently out of my "bits and pieces" endeavor!

And in the meantime, if you're a FB friend and/or a regular customer of mine, I hope you'll join us for our 3rd annual World Card-Making Day Virtual Retreat! Hosted on Facebook, it'll be 48 hours of creativity and fun – from the comfort of your own home. (Although you DON'T have to be present for the entire time, of course!) So make sure you RSVP that you're attending (details are in the FB Event), and then gather up the goodies you plan to work with! And we'll see you in only a few more days!

World Card-Making Day 2016 - FB promo

Thoughtful Branches – Redux

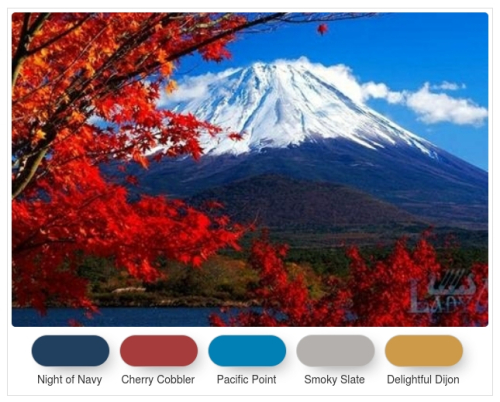
TAMS Color Builder (1)This is the most recent color challenge I've proposed in my Facebook groups. For my own card I knew I wanted to make a birthday card, but the colors were speaking to me more about "fall" than "birthday balloons" or the like. So I sucked it up and recreated this card – in new colors.

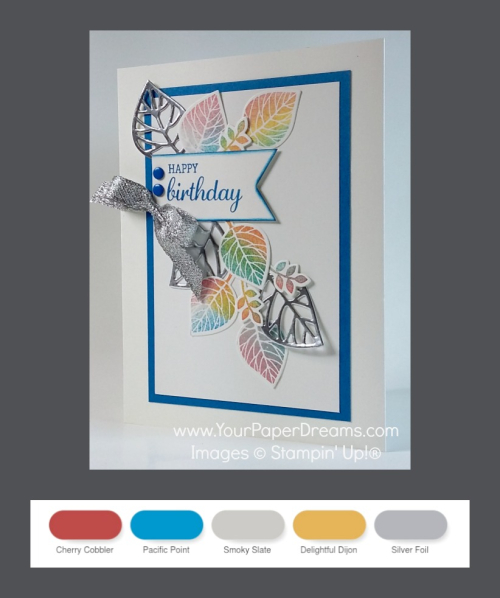
Using 4 of the 5 challenge colors, plus adding silver, I ended up with this:

Thoughtful Branches redux

Since most of these colors are quite bright (at least compared to the more traditional autumn colors of my original card), I chose to use sponges to apply the colors with this version – rather than the daubers of before. So this way I was able to soften the color intensity somewhat. But the larger surface of the sponges also meant more color-overlap, and I was reminded of a lesson I learned way back in elementary school: blue + yellow = green, lol!

I did, however, use one sponge dauber on this card – to apply the blue edge to the banner.

Now, as to the Thoughtful Branches Bundle (stamps & dies) that were *supposed* to be available only through the end of August….. well, at the end of August Stampin' Up!® announced they still had plenty in inventory, so they would continue to make them available while supplies lasted. And as of today, I see they're still in the online store! So if you haven't yet taken advantage of this amazingly gorgeous and versatile bundle, you're not out of luck – YET!  <<wink>>


How to coordinate your entire party’s colors – the easy way

Today I wanted to share a tip for making your party-planning a tad easier.

Choose Stampin' Up! colors for your event's color palette!
65th anniversary party - color coordination

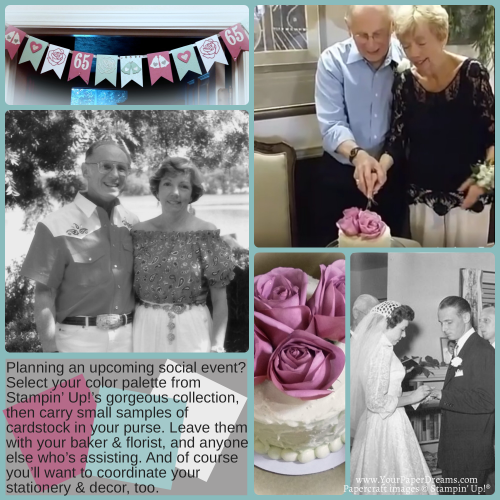
Last month my parents celebrated their 65th wedding anniversary. Yep, you read that right. 65 years!

Certainly worthy of a giant celebration - but unfortunately they no longer live near most of their friends, and family is spread all over the country these days, too. And neither are really "up to" a big party anyway. 

So our small group of family here in the area told 'em we'd come have dinner with them that night, and that's the only part of the "party" we told 'em about. The rest of it was kept a secret. But behind the scenes I planned a long-distance party, and at dinner that evening we explained that family and friends from all across the country were online that night to celebrate with them- via the internet! So we broadcast parts of our activities here on this end (via Facebook Live), and other family and friends posted memories and good wishes via Facebook – comments, pictures and videos, and sent cards (via my mailing address so I could snag 'em and package them all up in a handmade box). We had "party guests" ranging from close to their own ages…. all the way down to a new great-granddaughter just a couple of weeks old. It was fabulous!

The only part I was sad to note when it was all over, however, was a lack of still pictures….. because we'd relied so heavily on Facebook Live video to share the local activities in real time. I *was* able to snag a few screen shots from the videos afterwards, but it's been a bit tough documenting it afterwards with so few still pictures. (Lesson learned for next time.)

But back to my tip. I've been relying on this "Stick with Stampin' Up! colors" concept for a long, long time. And in fact my son's wedding was all done in Stampin' Up! colors over 10 years ago. All the way from the "Save the date" cards, to the invitations, printed programs, cake, decorations and flowers – to, yes, even the color of the bridesmaids dresses. And it made it SO easy to keep everything coordinated!

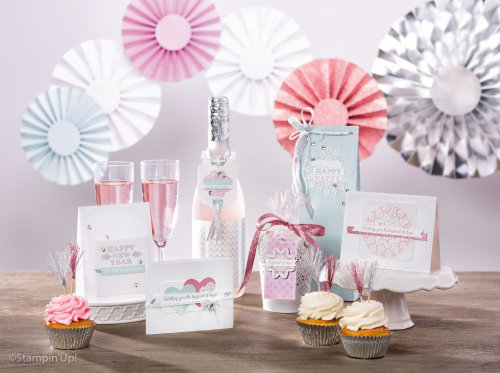
So of course when it came time to pull together THIS event for my parents, naturally I turned to Stampin' Up! again.  In fact, my inspiration came from the new Holiday Catalog…. and the Fancy Frost suite (shown on pages 35 & 36).  
Holiday16_p36a-19

 65th anniversary party colors

And of course we added a generous sprinkling of glitter (even edible glitter on the cake – but from the bakery, however), and Dazzling Diamonds glimmer paper…..


Dazzling Diamonds Glimmer Paper

 
Dazzling Diamonds Stampin' Glitter


 and other bling……

Holiday16_142549-23


Holiday16_142015-22 

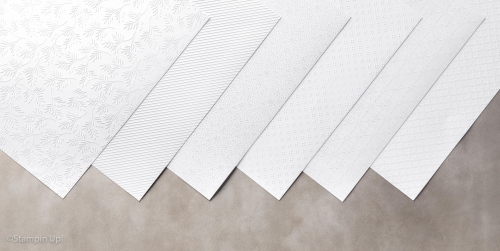
….. along with texture from the Fancy Frost Specialty Designer Series Paper.
 

Holiday16_142014-21


And I gave cardstock samples of the colors to the baker, and used 'em to coordinate flower arrangements, and was grateful I had a few extra pieces in my purse so I could grab a steal on a couple of "Sweet Sugarplum" mums for the dinner table when I just happened to walk by them one day and they called out to me!

So next time you're in charge of some kind of shindig, select your color palette from Stampin' Up!'s gorgeous choices and put several cardstock samples in your purse to keep 'em handy. It'll certainly make the "coordinating colors" element of your party a breeze!
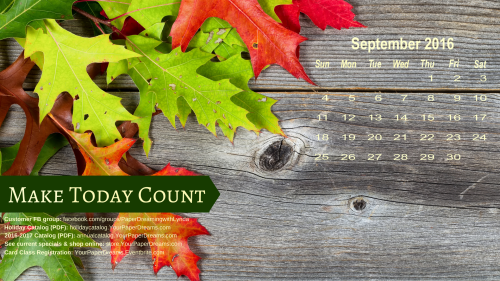
September 2016 desktop background with calendar

September 2016 desktop calendar
Ok. So I've had this incessant urging inside of me for several months now. I've wanted to make my very own seasonal desktop image/background - that included the month's calendar as well as a quick-reference to some of the most common URL's that my customers ask for. And I knew that I'd likely want to share it, too….. should I ever figure out how to make it all come to pass, lol!

Well, today, after several hours of focused headwork and some rather fussy, tedious design (particularly with the calendar element – only due to my ongoing clumsiness with Photoshop Elements), I finally figured it out. (Insert big happy, satisfied grin here!)  Yay!!!

If you'd like to download this image for your own computer desktop, you're welcome to. But here's the thing…. I will NOT be able to diagnose or help with any technical problems you may encounter, so if you've never installed a desktop background before you may want to seek help (perhaps from a teenager, lol). The image size is 1920 x 1080, so it should fit many modern-day monitors, but not necessarily yours. And the file is big - at nearly 5 MB. And no, it's not designed for mobile devices; sorry 'bout that.

INSTALLATION

This quick and simple installation process works for *my* computer and dual-monitor set-up (Windows 10), but I cannot guarantee it'll work for yours:

  1. Click here to access the high-resolution image. (Please do NOT attempt to install the low-resolution image shown above.)
  2. Save the image to your computer.
  3. Follow your usual process for selecting & setting up an image for your desktop background/wallpaper. (On my computer I only have to right-click the saved image and select "Set as desktop background".)