Wow! The last day of May already. Hard to wrap my head around all that’s happened this month (both good and bad), but I’ve been mighty grateful to have had access to the internet and various online services so I can continue to be active with and enjoy my Stampin’ Up!® business!
This month I upgraded my video lighting for a “bit” better look for my online presentations. But I think I may have had a little higher expectation from my new lights than they’ve delivered; somehow new lighting hasn’t entirely eliminated the fact that I’ve been a demonstrator with this company for 24 years, and well, I look at least that many years older in front of the camera. That I have a growing number of wrinkles and sags in places I’d rather not have. That my “quarantine hair” is much too long and much too gray. And that my tiny poorly-lit apartment is…. well, a tiny poorly-lit apartment.
But nonetheless, I’ve had a lot of fun this month connecting with my stampin’ friends while presenting 3 online events… beginning with my 3rd monthly template-based card class via Zoom, and then followed by 2 more events which were live-streamed to my Facebook page. None of these were flawless, but I’m learning to cope with the unexpected and “oops-es”… and not die of embarrassment. (Can we say “open mic” during yesterday’s intermission?!? Now the world knows I talk to myself when designing, lol.) So I choose to chalk up the flub-ups to “learning”. And I truly appreciate all in the Paper Dreamers community who seem willing to accept the imperfections as I learn all this new tech stuff… and participate in these online activities anyway! Thank you from the bottom of my heart!
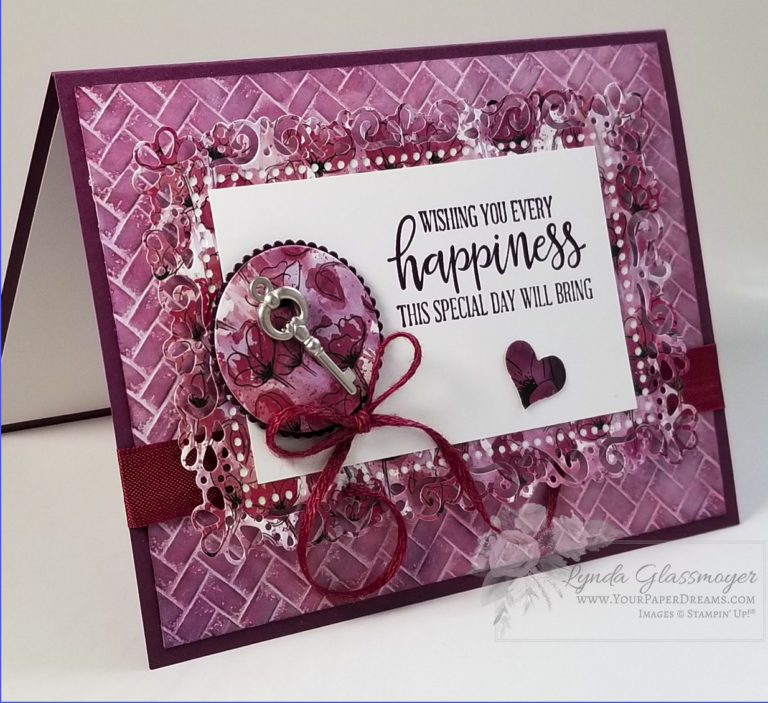
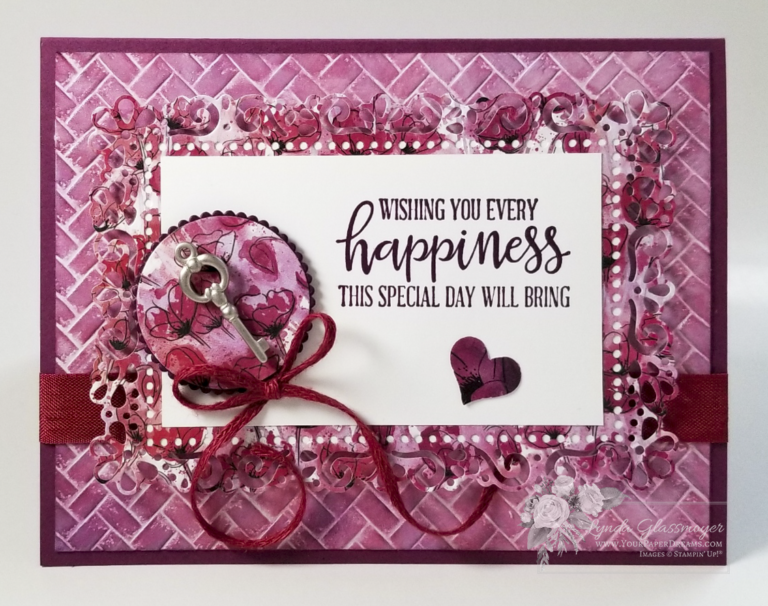
This was the 3rd card I created during yesterday’s inaugural presentation of “Mystery Card Class”, which was live-streamed to Facebook. The concept for this class is to follow along with some specific guidelines for making a card of your choice, while trying to resolve the “mystery” that looms in the background. And the clues to the mystery will eventually appear in the cards that participants stamp and post online for the viewers to see.
I’d sent out prepared card kits to several stampers in advance, and invited them to participate in this event by assembling their cards and sharing them with the other class participants. But unfortunately, that plan kinda fell on its face because only 1 card got made up and shared. So we’ve had a significant shortage of “clues” (as compared to what I’d envisioned), and therefore yesterday’s mystery stands a good chance of remaining unresolved, and the intended prize not awarded.
Ah! But I don’t give up that easily. I’m up for trying again next month, and hopeful that we might get broader participation. And if you receive one of the card kits I send out for Episode 2, please do play along by making up your card and showing us the result. The more participation this event can get, the more fun it will be!
I can't believe Coastal Weave Embossing Folder is retiring already!
This particular embossing folder has become my very favorite during its short life, and I’m really going to miss it. So when it came time for designing cards for yesterday’s class, I *had* to give it yet another workout before bidding it farewell.
So I ended up using not only my current favorite embossing folder, but also one of my very favorite techniques… applying and blending inks with various types of applicators. For this background, I began with a piece of regular Whisper White cardstock and embossed it with the soon-to-be-retired Coastal Weave 3D embossing folder.
Then I went after it with several ink colors, applied with Sponge Daubers… gradually building up light layers of Rich Razzleberry, Poppy Parade, and Blackberry Bliss classic inks until I had the look I wanted. I deliberately tried to vary the intensities of each color in different areas so the color wasn’t entirely even throughout. I’m always thrilled to watch what develops when applying layers of color this way, and given that I was working with some of my favorite colors, I got more and more excited as the overall look developed!
Once I had the general look I wanted, I went back over it with the Frost White Glimmer Paint (also applied with a sponge dauber) to give it a sheen. (Which may or may not show up in the pictures.)
Additional supplies I used include Rich Razzleberry, Blackberry Bliss, and Whisper White cardstock, several sets of dies, various elements from the Peaceful Poppies Suite, and some retired trim & accessories I found while digging through my stash.
If you still need to add the Coastal Weave 3D Embossing Folder to your own collection, it’s still available in my online store, and as long as supplies hold out, will be for 2 more days… thru June 2nd. Grab yours here.
And be sure to bookmark my calendar page so you won’t miss what’s coming up!


