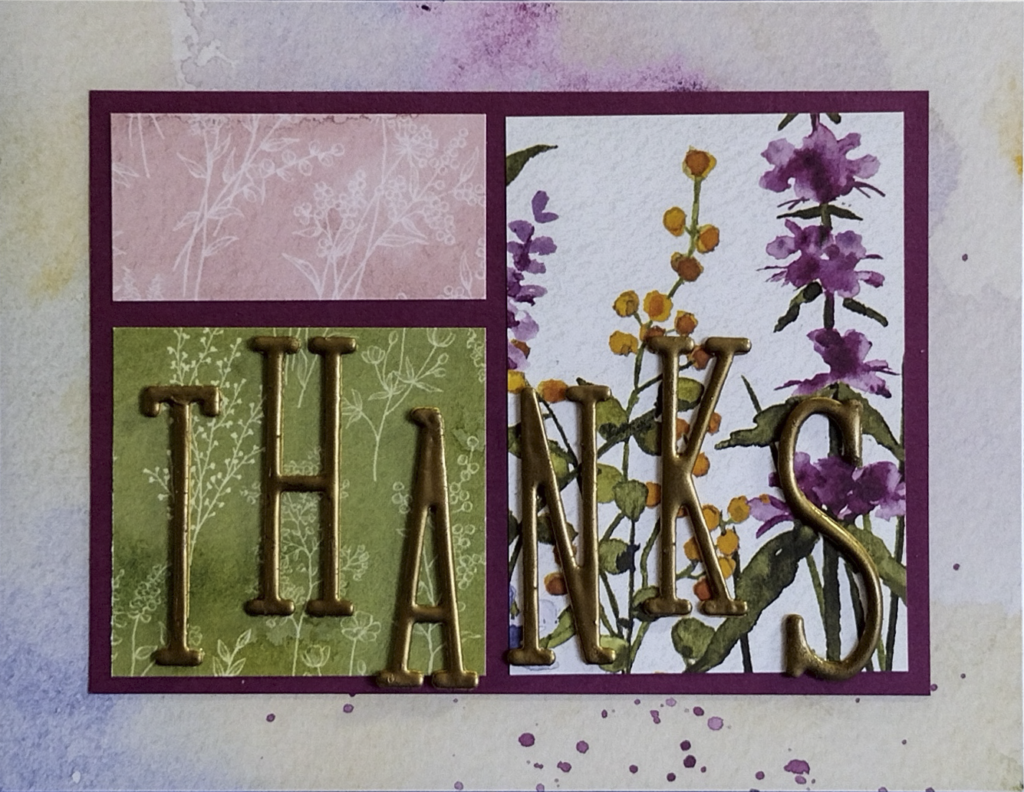
Want to create a luxurious, high-end look on a budget? Try making your own metallic-looking accessories from cardstock and a few other items you probably already have in your papercrafting stash! Keep reading to learn how I made these stunning letters – actually based on ordinary cardstock.
General Construction of this Card

Now, before we get to the specific “how to” of making your own metallic-looking accessories, I need to share a bit of background information. You see, the Designer Series Paper shown on this card came from the 12″ x 12″ collection called “Dainty Flowers”. It’s really lovely paper, front AND back, and it’s even been available for nearly 2 months for free with a $50 Sale-a-Bration order. But just as I got this card put together, inventories of that DSP ran out. And sadly, it’s no longer available. 
The layout template, including all cutting sizes, was included in my online card classes of last week. And it will eventually reappear in an upcoming compilation of such templates, so hang tight & keep checking back if you’re interested in that.
How to Make your Metallic-Looking Accessories

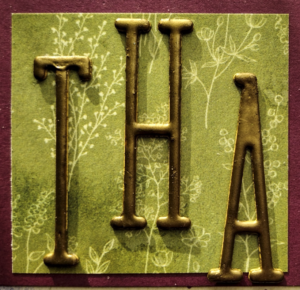
Would you be surprised to learn that the base for the gold letters shown on this card is just simply cardstock? Indeed, to begin this look, I used the Alphabet a la Mode dies to die-cut 3 each of the letters I needed. (I used Crushed Curry cardstock, but the color really doesn’t matter because it barely shows). Then I stacked up the layers to create 3-dimensional letters, carefully applying my favorite adhesive (Tombow Mono Multi Liquid Glue) between each layer.
Once the glue on the letters was dry, I used a Versamark Pad (upside down) to pat onto one half of a letter. Then I applied Gold Embossing Powder and heated it with my Heat Tool to melt the powder. When the letter had cooled sufficiently to handle, I repeated the process on the opposite end of the letter. It actually took about 3 layers of this same process to get the fairly smooth metallic-look that I was aiming for, and I repeated that for each letter. (This process is indeed a bit time-consuming, so put on some nice music while you’re working.)
Once I had all my letters assembled, I simply glued each one into place on my card, using the same glue as mentioned above (which we affectionately refer to as “Green Glue“).
Other Ideas for Metallic-Looking Accessories
In addition to letters such as these, of course you could think in terms of any other cardstock shapes that you could punch or die-cut and then stack up for dimension. How about numbers for a special birthday or anniversary card? Or a small leaf or flower? A heart? Or a frame shape? Just let your imagination be your guide and have lots of fun with this idea!
And of course, we’d LOVE it if you shared your card showcasing your own metallic-looking accessories on my Facebook Page!
Need something other than these items? Check out my online store here, and remember that if you can get your order submitted before the end of Feb. 28th, 2023 (Mountain Time), you can qualify for free Sale-a-Bration goodies, too!


